Making a Sash
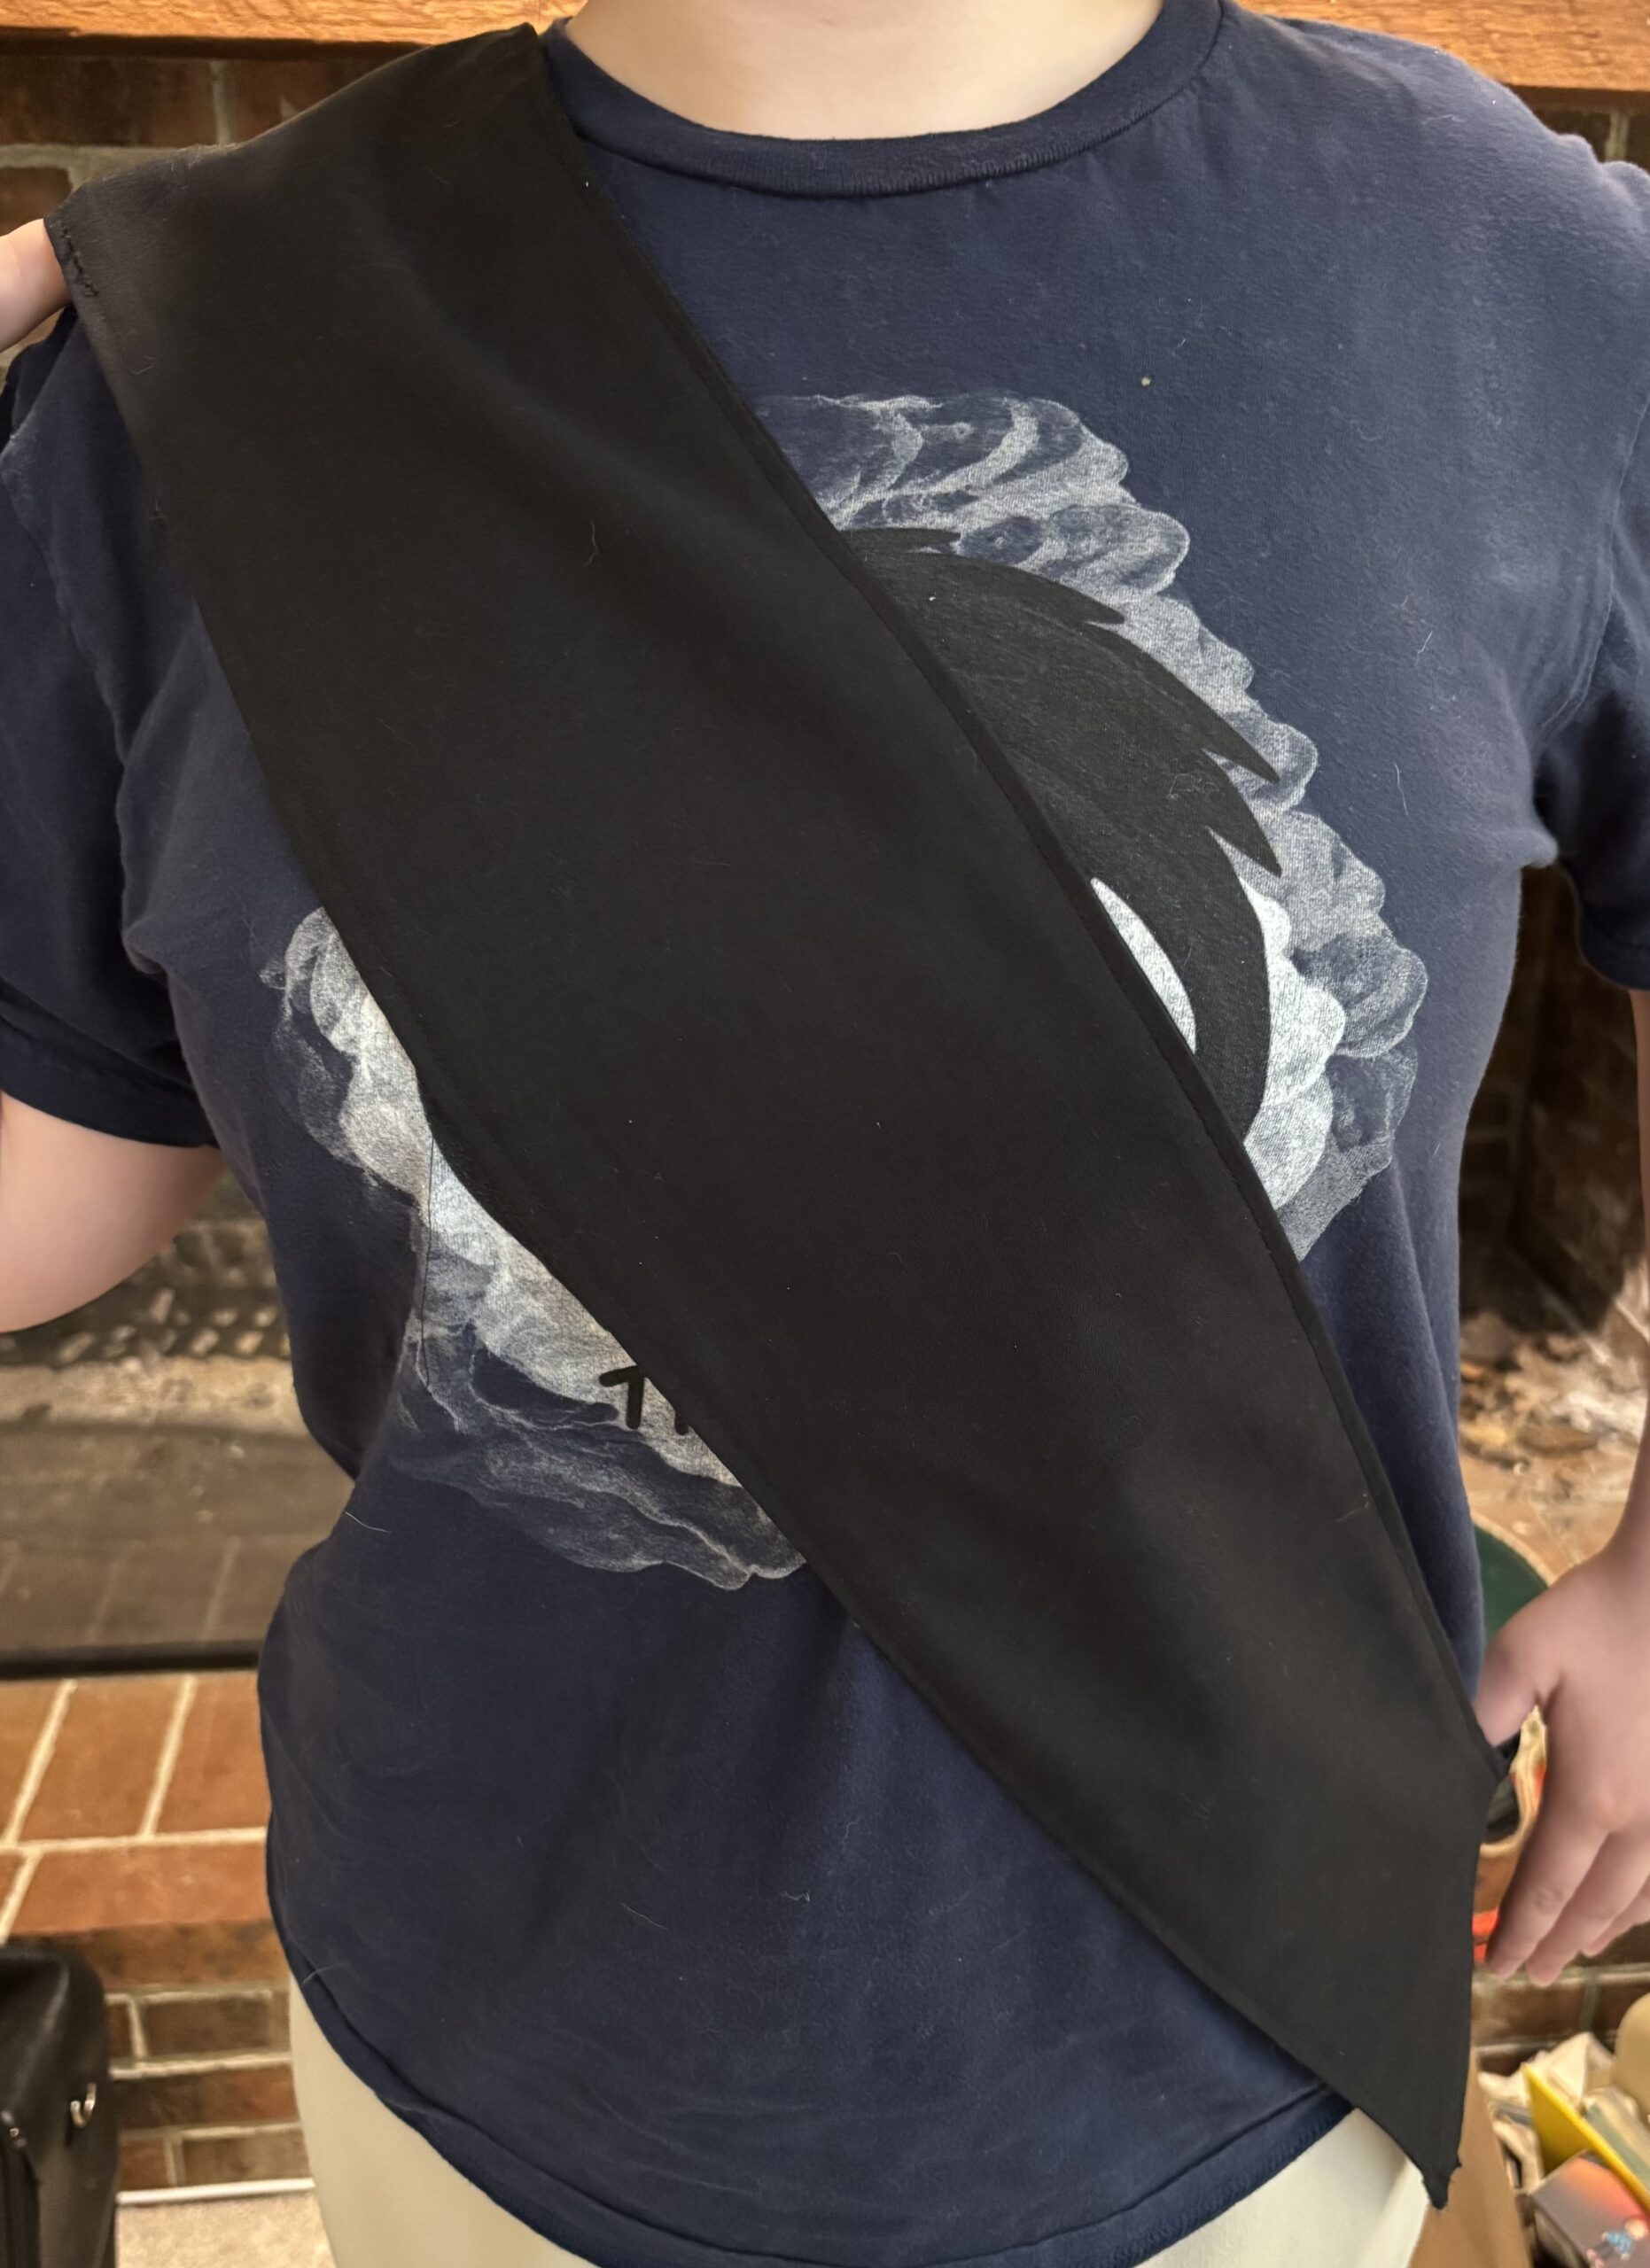
Have you run out of room on your OSG uniform for all your badges? Are your arms just not long enough? One of our pathfinders faced this problem 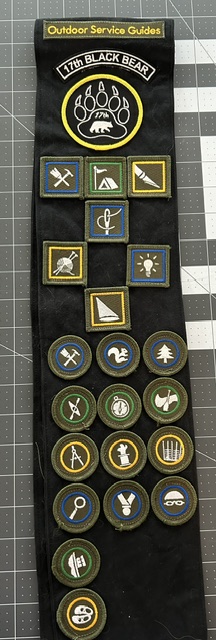 recently, so a wonderful group member figured out how to make her a sash to hold those extra badges. As a group, we agreed sashes for our members would match our neckers. We have a group member who makes the neckers every year- and she was willing to also make the sash.
OSG has no official guidance on sashes as this time (2026), so we made a plan that worked for us. If you are reading this in the future, you may want to check if OSG has come up with any further guidance.
Below are instructions with pictures of how to make a sash for a guide.
Level: Advanced Beginner
No advanced sewing is required, but this should not be your first project on a machine.
Equipment:
Sewing machine
Fabric scissors or rotary cutter, pins
Clear sewing ruler
Metal ruler or other pressing tool
Electric Iron
Newspaper or other suitable scrap paper
Materials:
Fabric: 44” width all-cotton or cotton-poly blend. Woven only, no knits. Amount determined by the pattern (instructions below).
Thread to match.
Notes on Yield/Yardage:
If making a sash for a teen/adult, around 30” from shoulder to hip, assume 1.125 to 2 yards. (If using lesser quality cotton, add another ¼ yard, to allow for more shrinkage). Assuming that your fabric doesn’t shrink too badly, you can assume 36” of usable width of the fabric. In this case, 2 yards of fabric yields 3 complete sashes with no shoulder piecing. You can try to get 42” out of the width, but as cotton fabric quality goes down, this has become more difficult.
Make the Pattern:
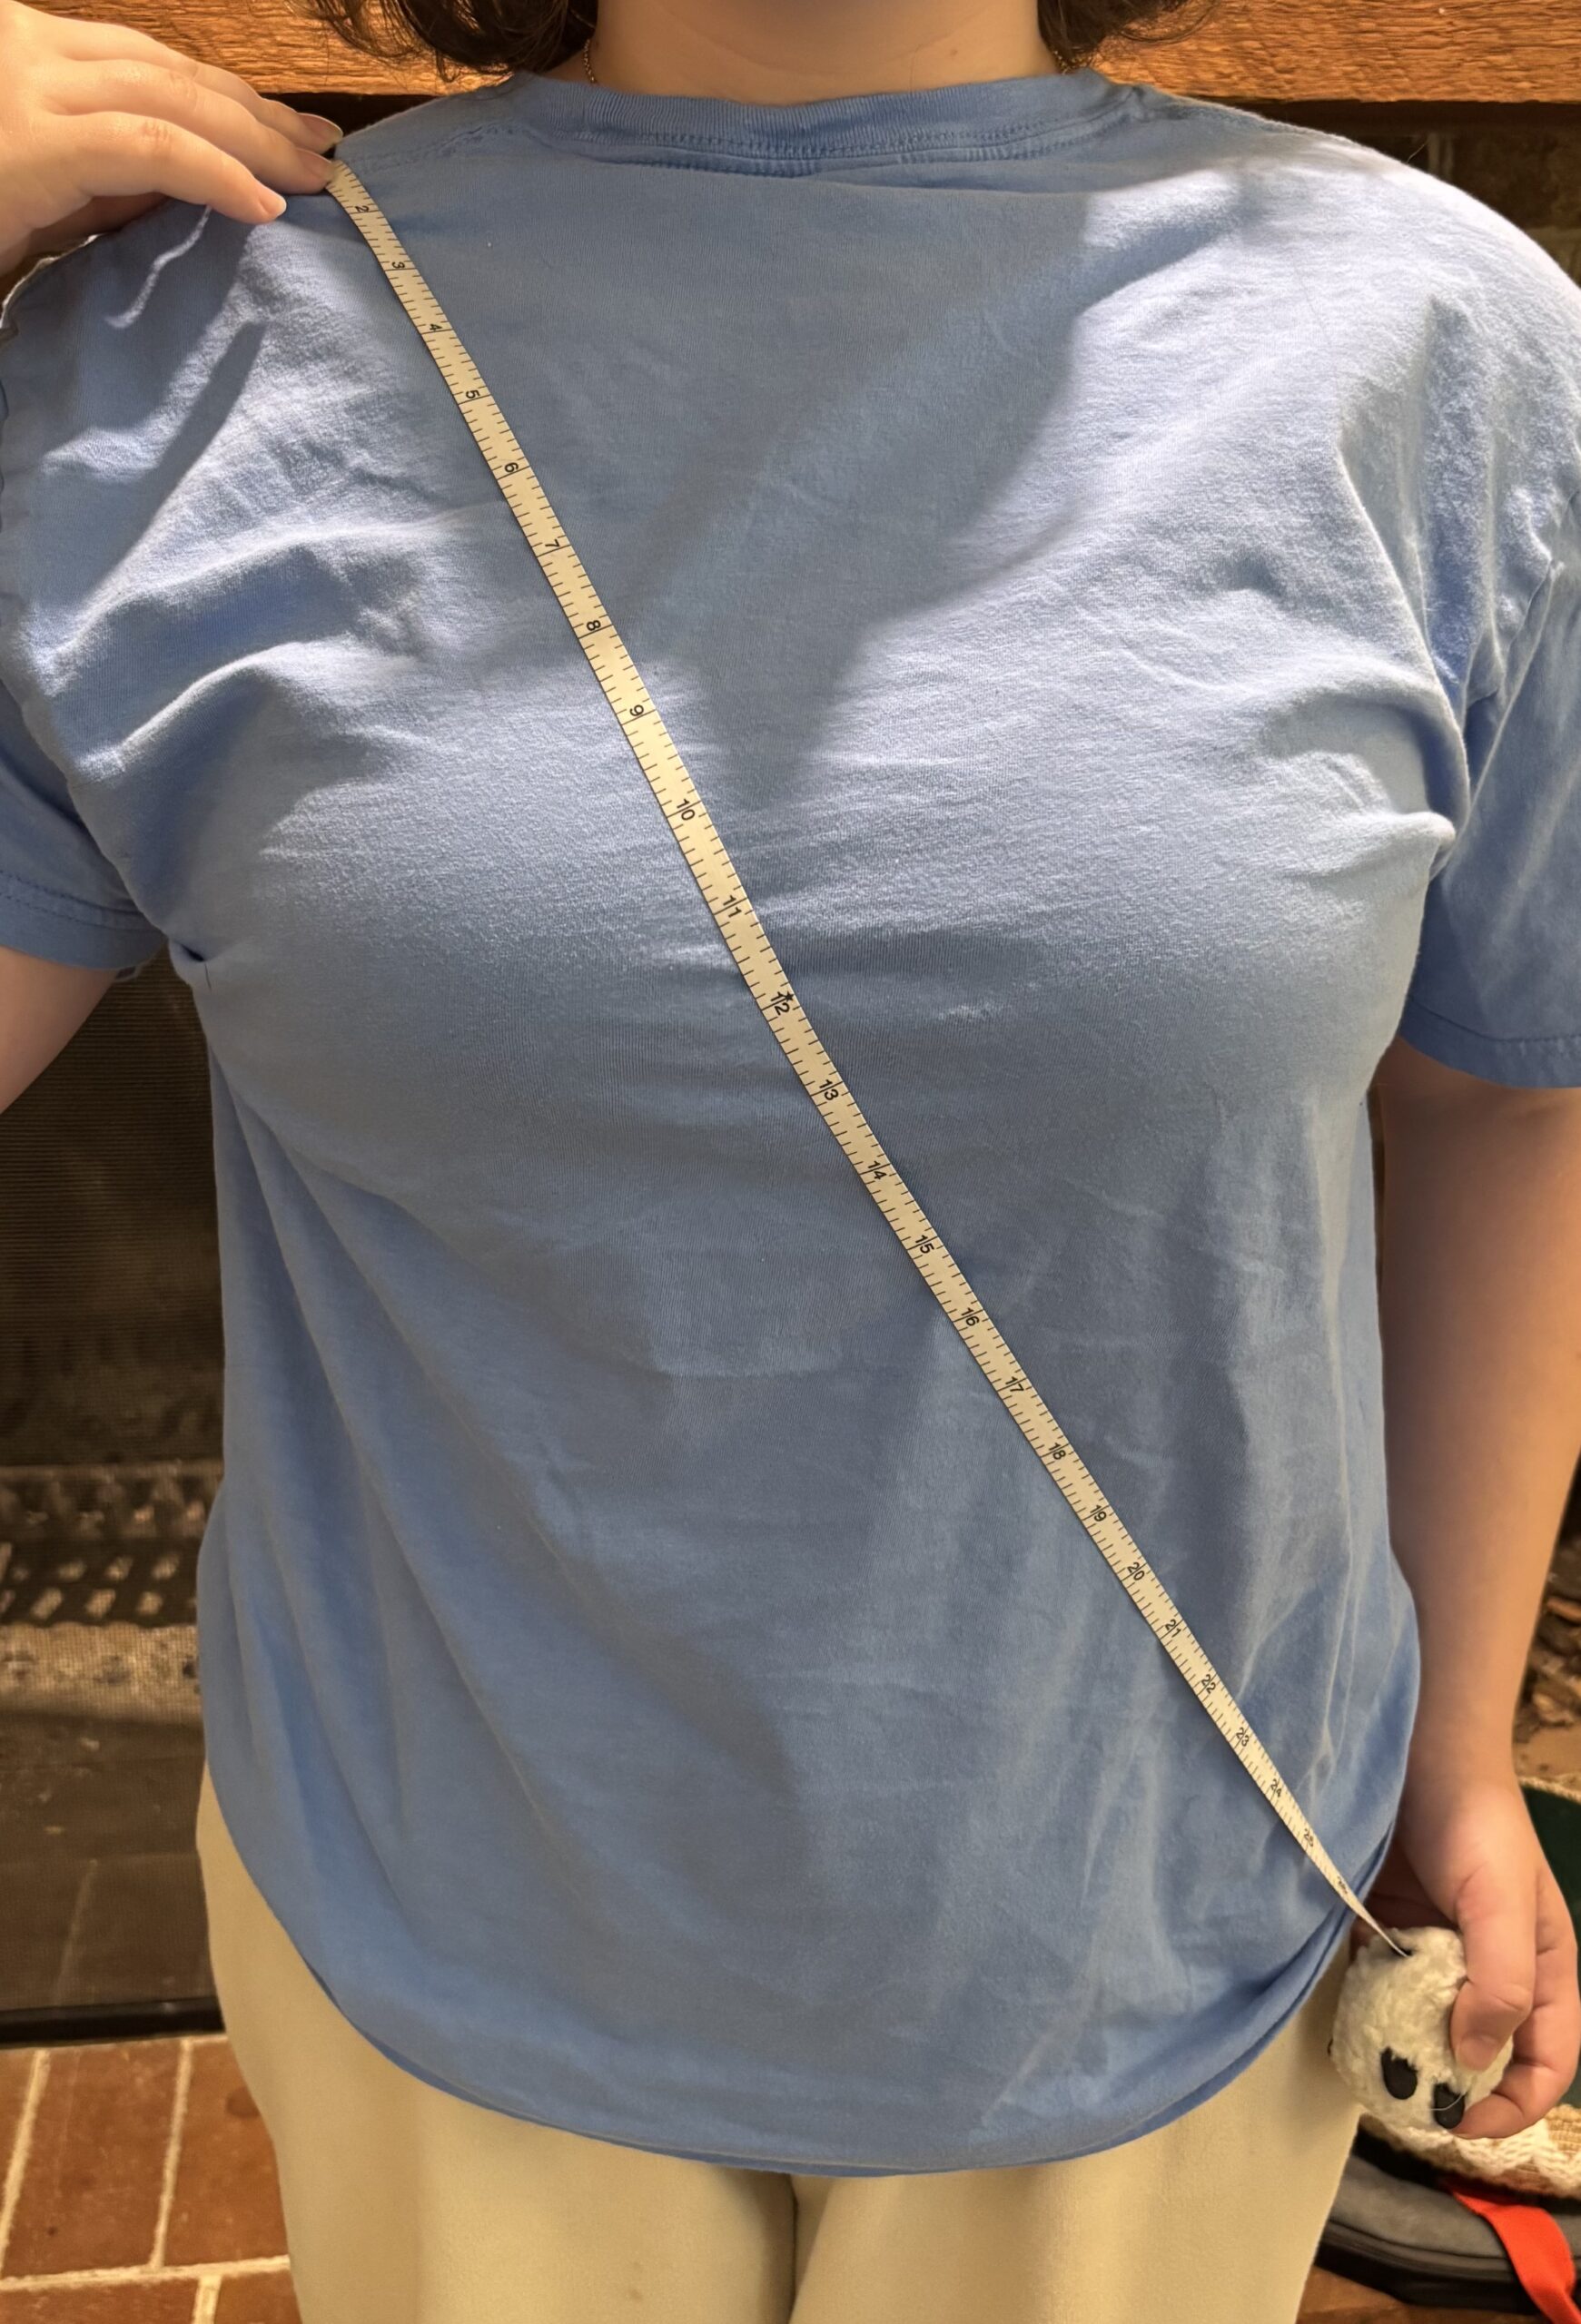 Measure the recipient from top of right shoulder, across the front of the body, to the left hip at desired length.
Then, ADD 3-5”, to allow for ½” seam allowance on the hip, and desired ease. (Too tight, and the recipient may find it uncomfortable, too loose, and it may continually fall off the shoulder.) Judge based on your own recipient’s needs.
(The model I used measures 30” from shoulder to hip, as shown, and I cut the fabric at 35” at longest hip-point.)
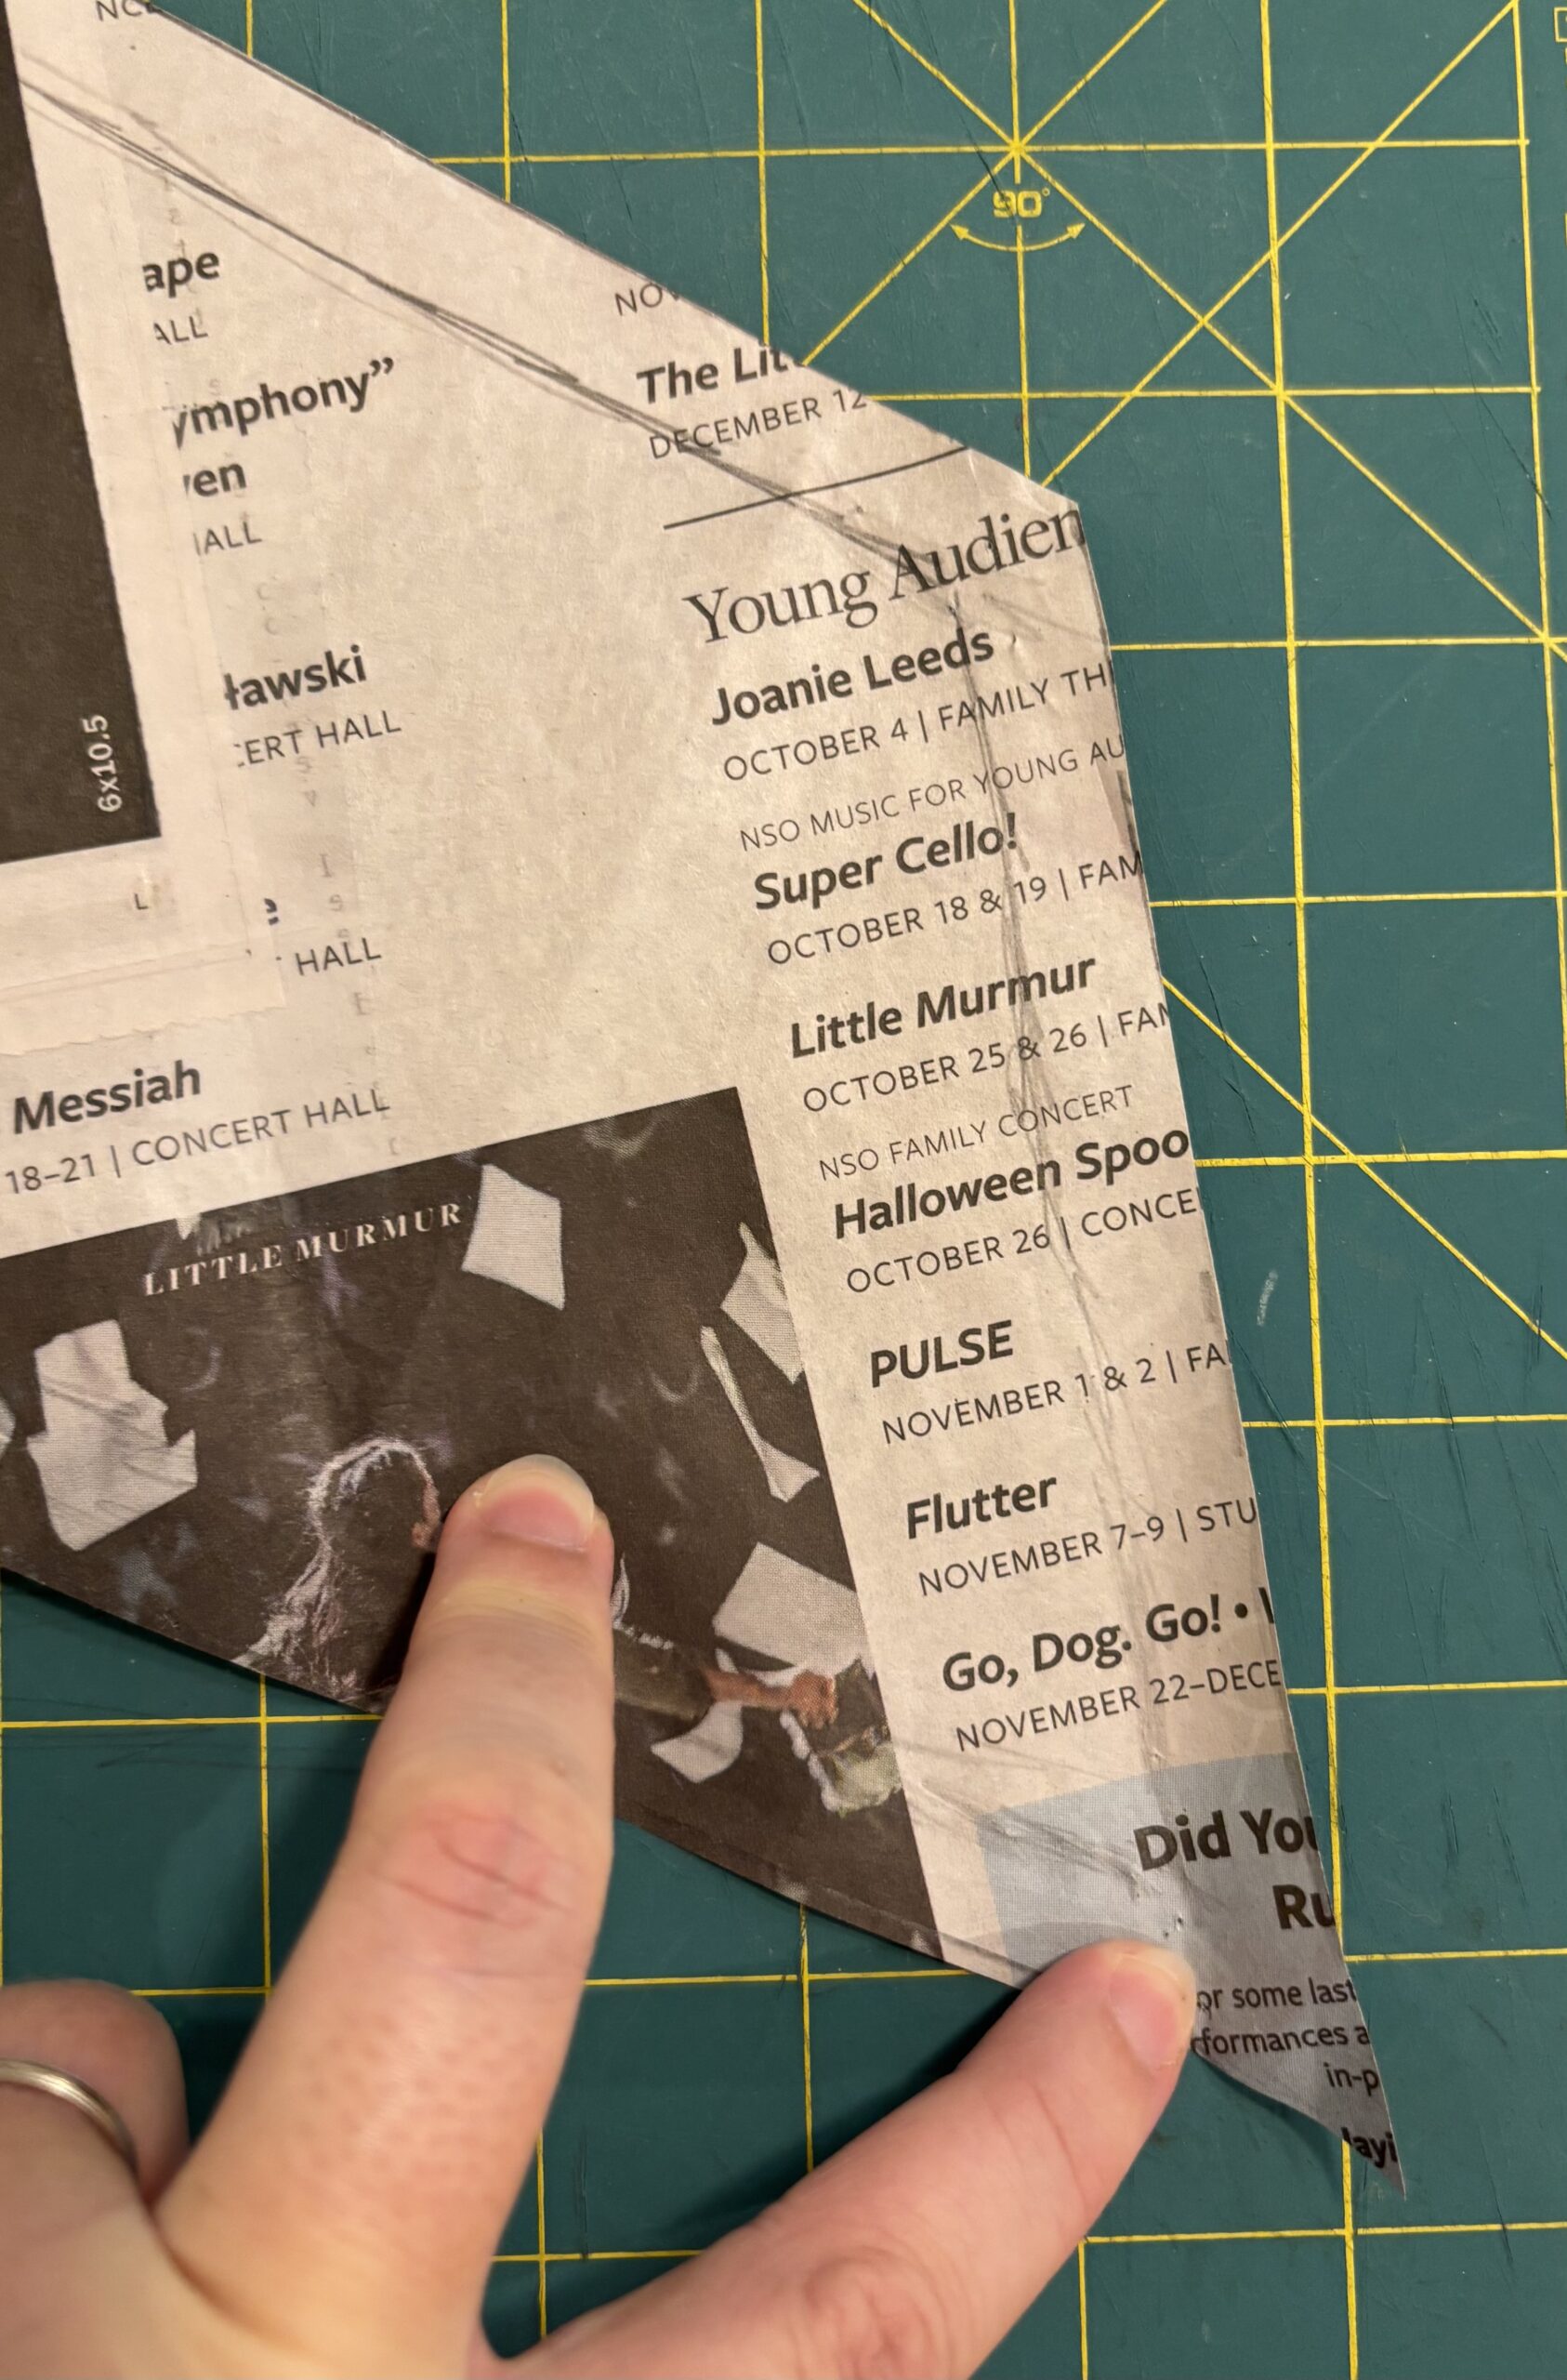 Transfer this measurement to a piece of newspaper or other suitably sized scrap paper.
At the top of the shoulder, make a notation that this will need to be placed ON THE FOLD.
Using a clear plastic ruler or other sewing tools, draw out a 6” width down the length of your measurement. This INCLUDES your ½” seam allowance on each side.
At the bottom of your length measurement, taper the sash pattern cut markings at a 60 degree angle. This allows it to sit at the hip and hang straight.
Make the Sash: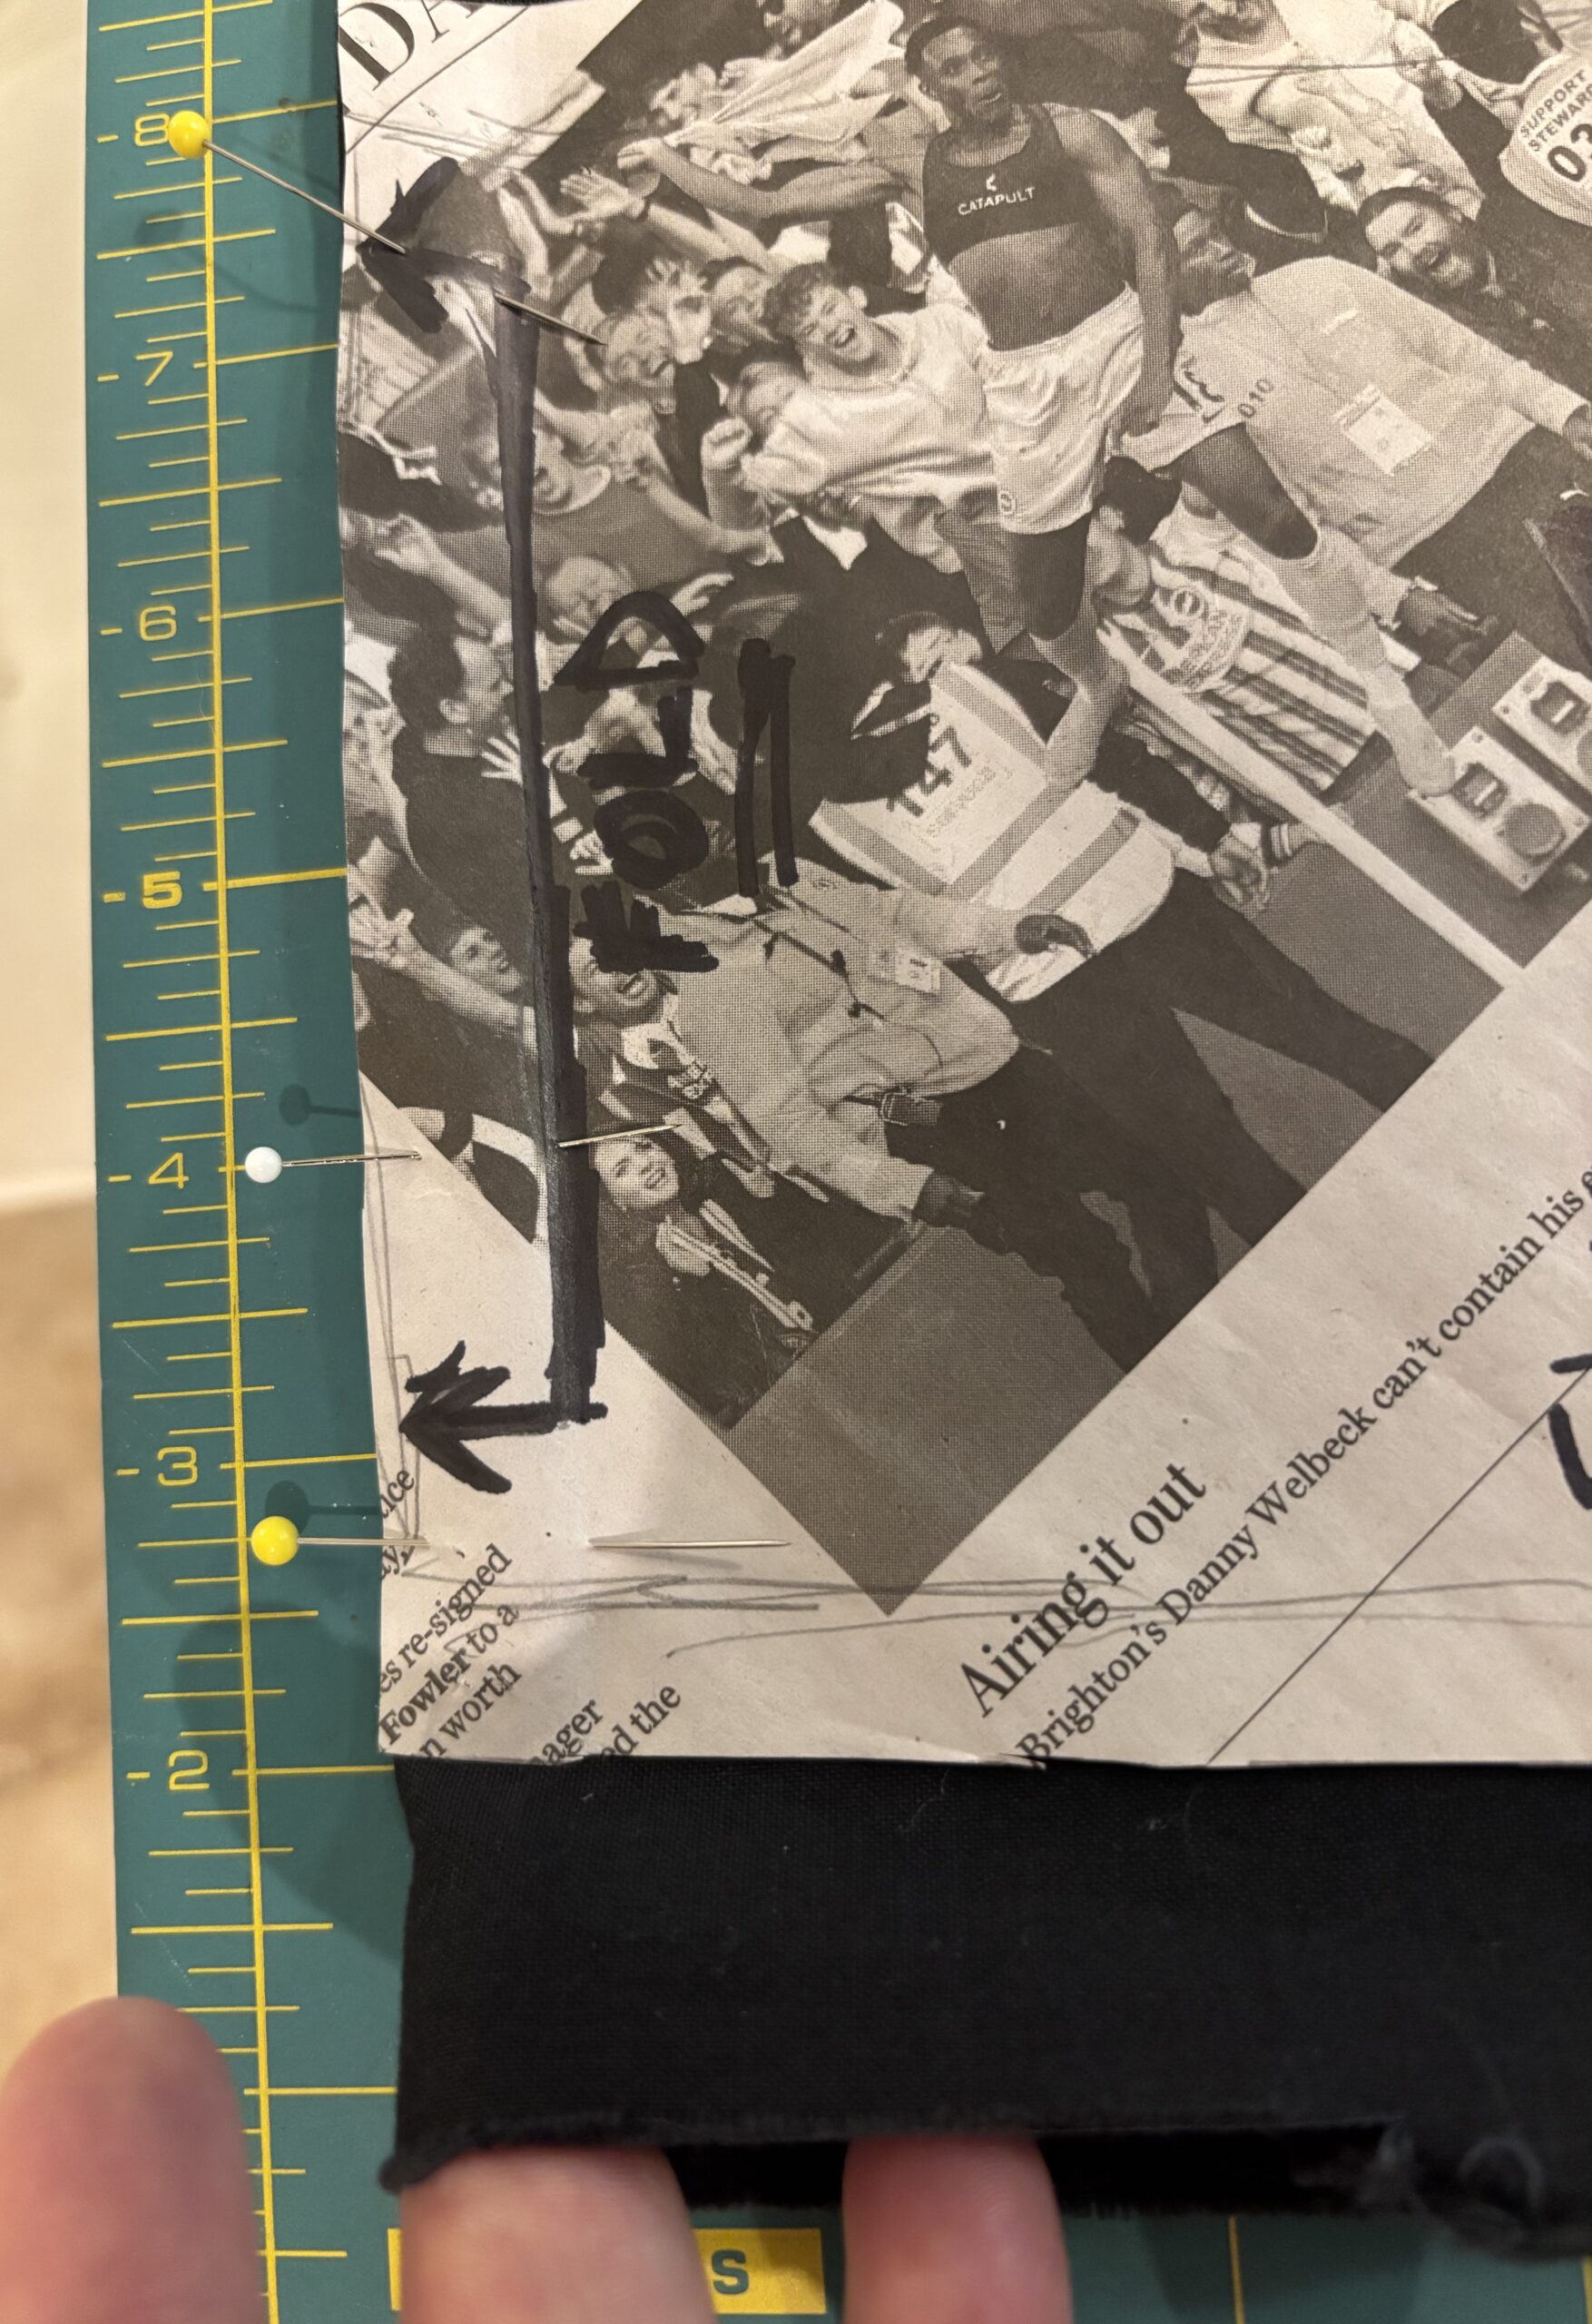
Prepare your fabric by machine-washing on cold, then tumble dry VERY low until dry. Watch for shrinkage, especially with all-cotton.
PRESS your fabric, using the appropriate steam setting for your fabric.
Fold your fabric so that, when you place your pattern on it, the shoulder lays directly on the fold, with a DOUBLE-thickness of fabric extending from there all the way to the end of the pattern at the hip.
The pattern should rest on a double thickness of fabric at all points, with the fold EXACTLY at the shoulder edge of the pattern.
Pin the pattern to the fabric and CUT (2). (After cutting the first and setting it aside, you will need to reposition the pattern 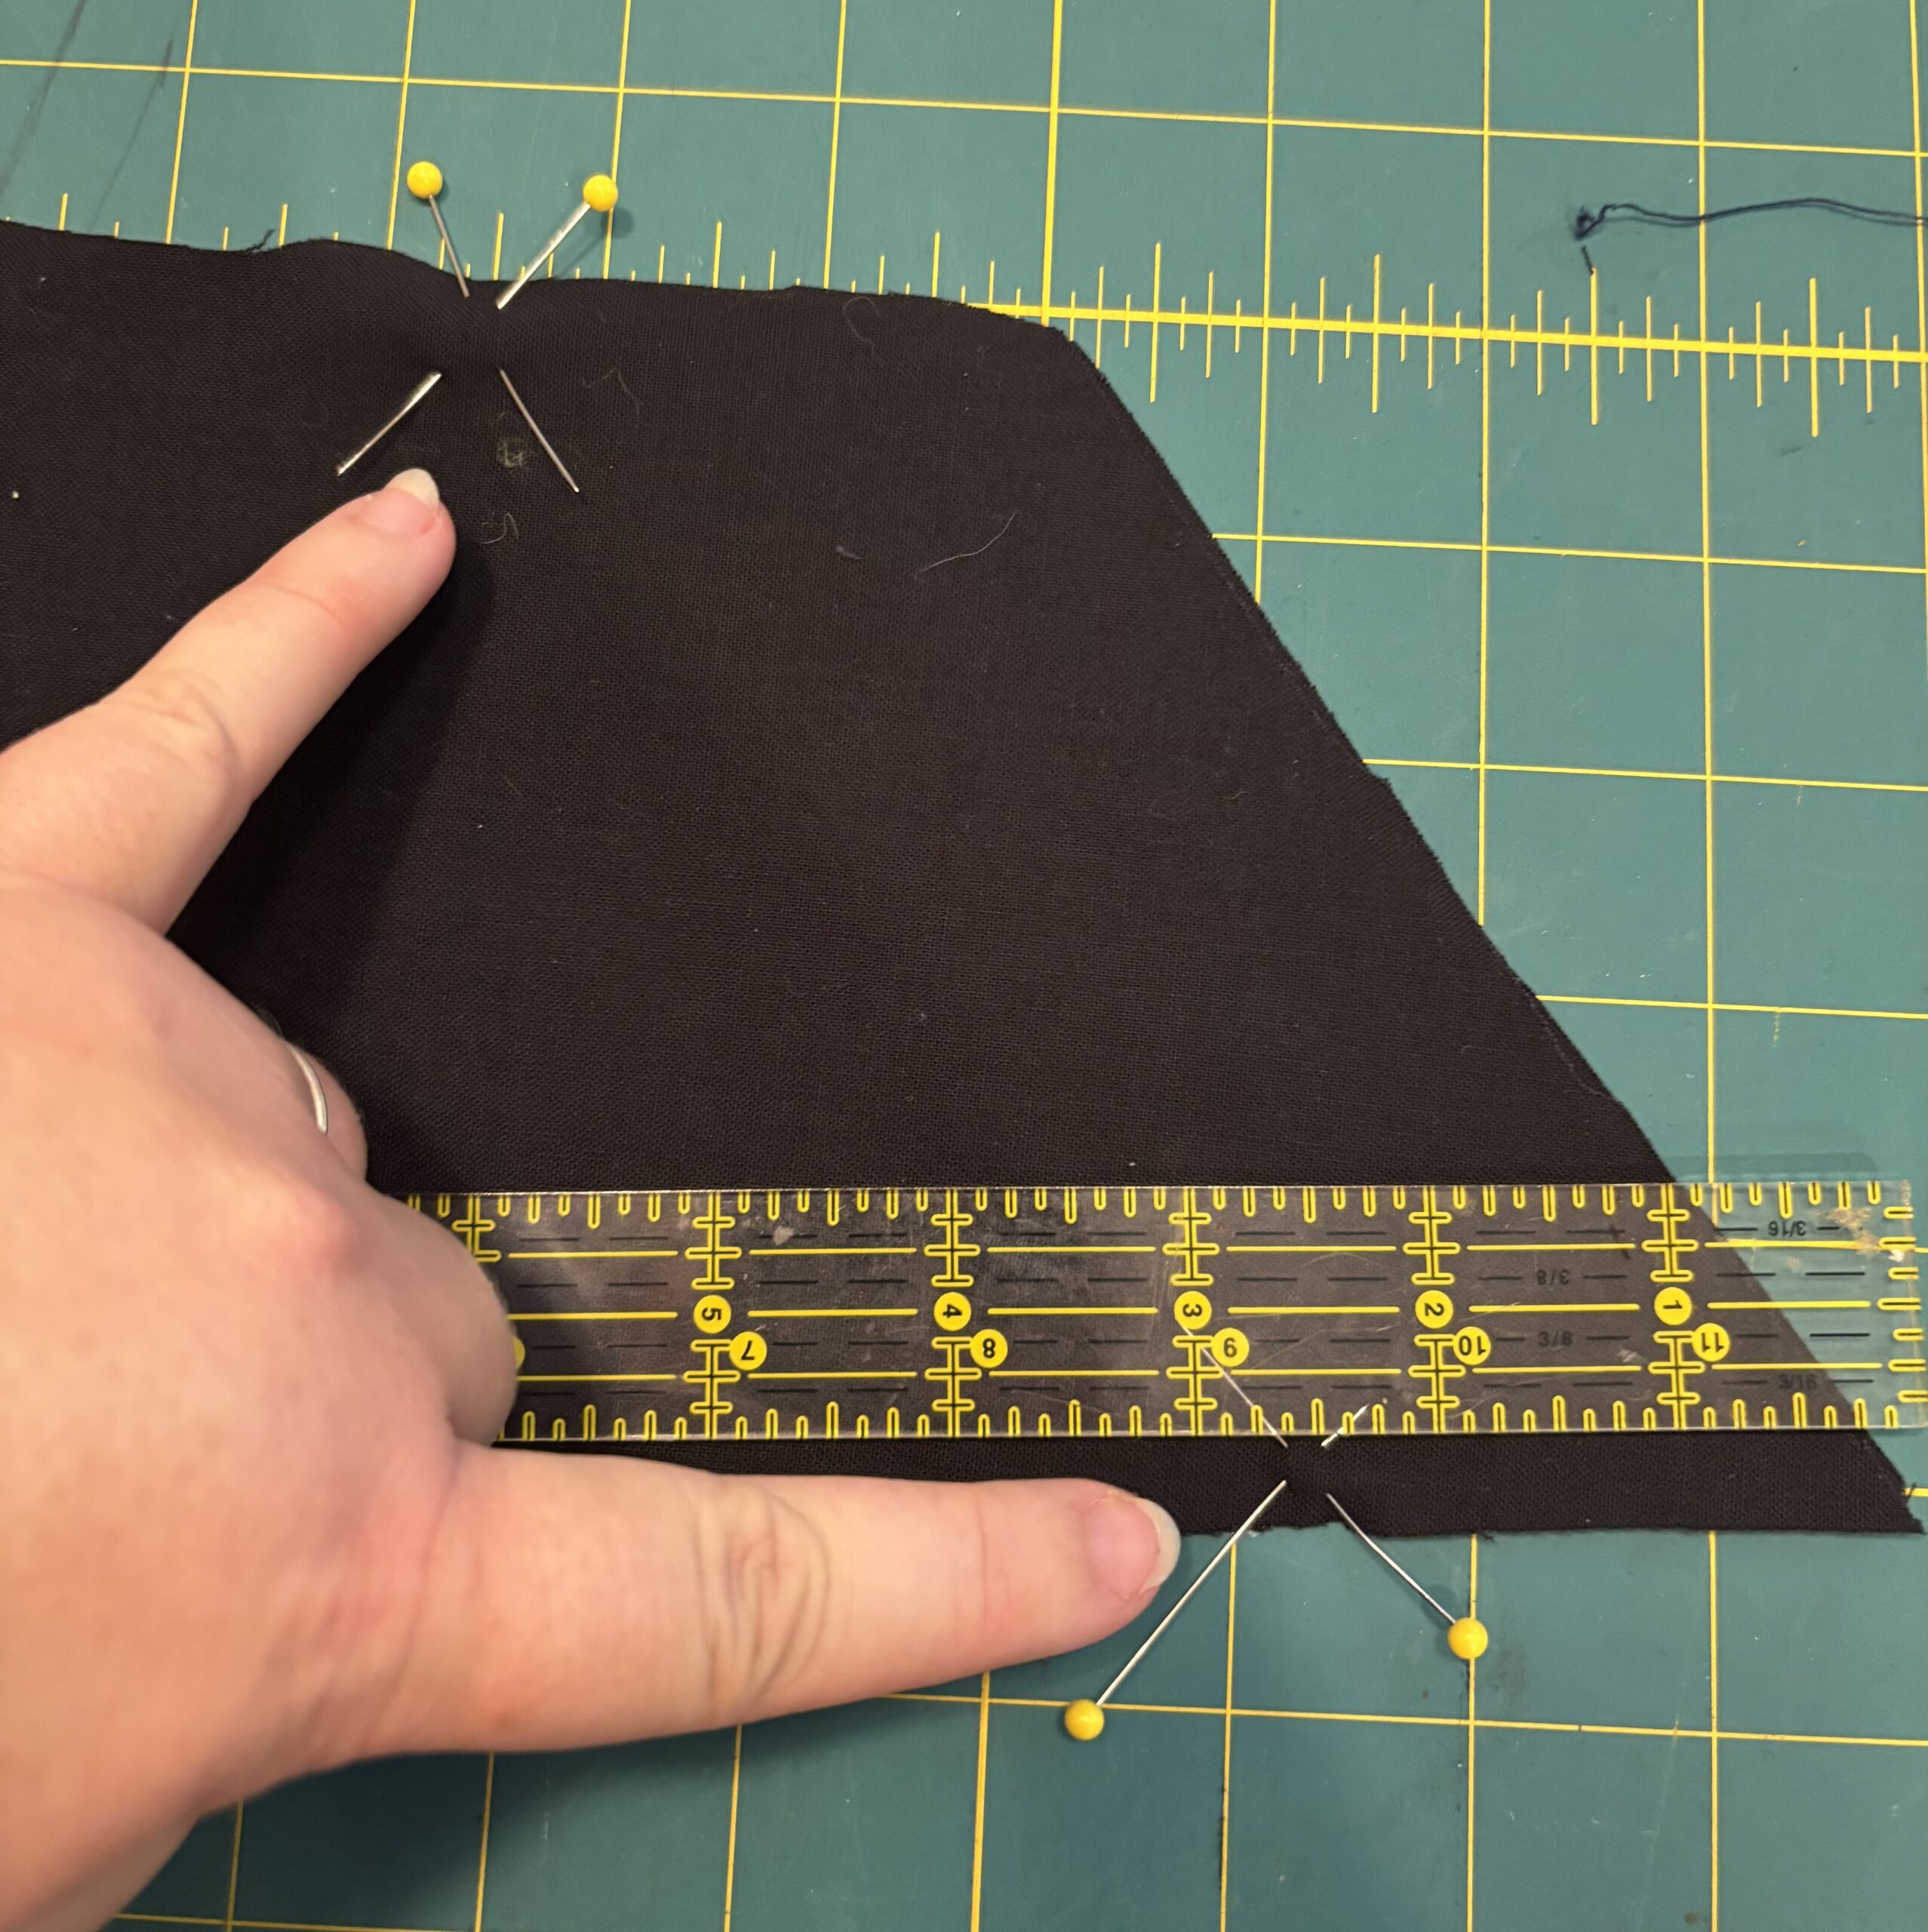 on the fold of the fabric, and cut a second one).
(Alternative – if you don’t have enough whole fabric, you can add a shoulder seam. Add an extra ½” to the shoulder pattern line, cut (4) pieces of fabric from the pattern, sew (2) pieces together at the shoulder and press (twice), before proceeding with the remainder of construction).
You should now have two long fabric copies of the sash pattern.
Matching the edges, pin one sash on top of the other, right sides together, leaving unpinned about 2.5” from the hip edge on each side. Do not pin the ends of the fabric at the hip together.
SEW each pinned edge of the sash, between the marked stopping points only, with a ½” seam.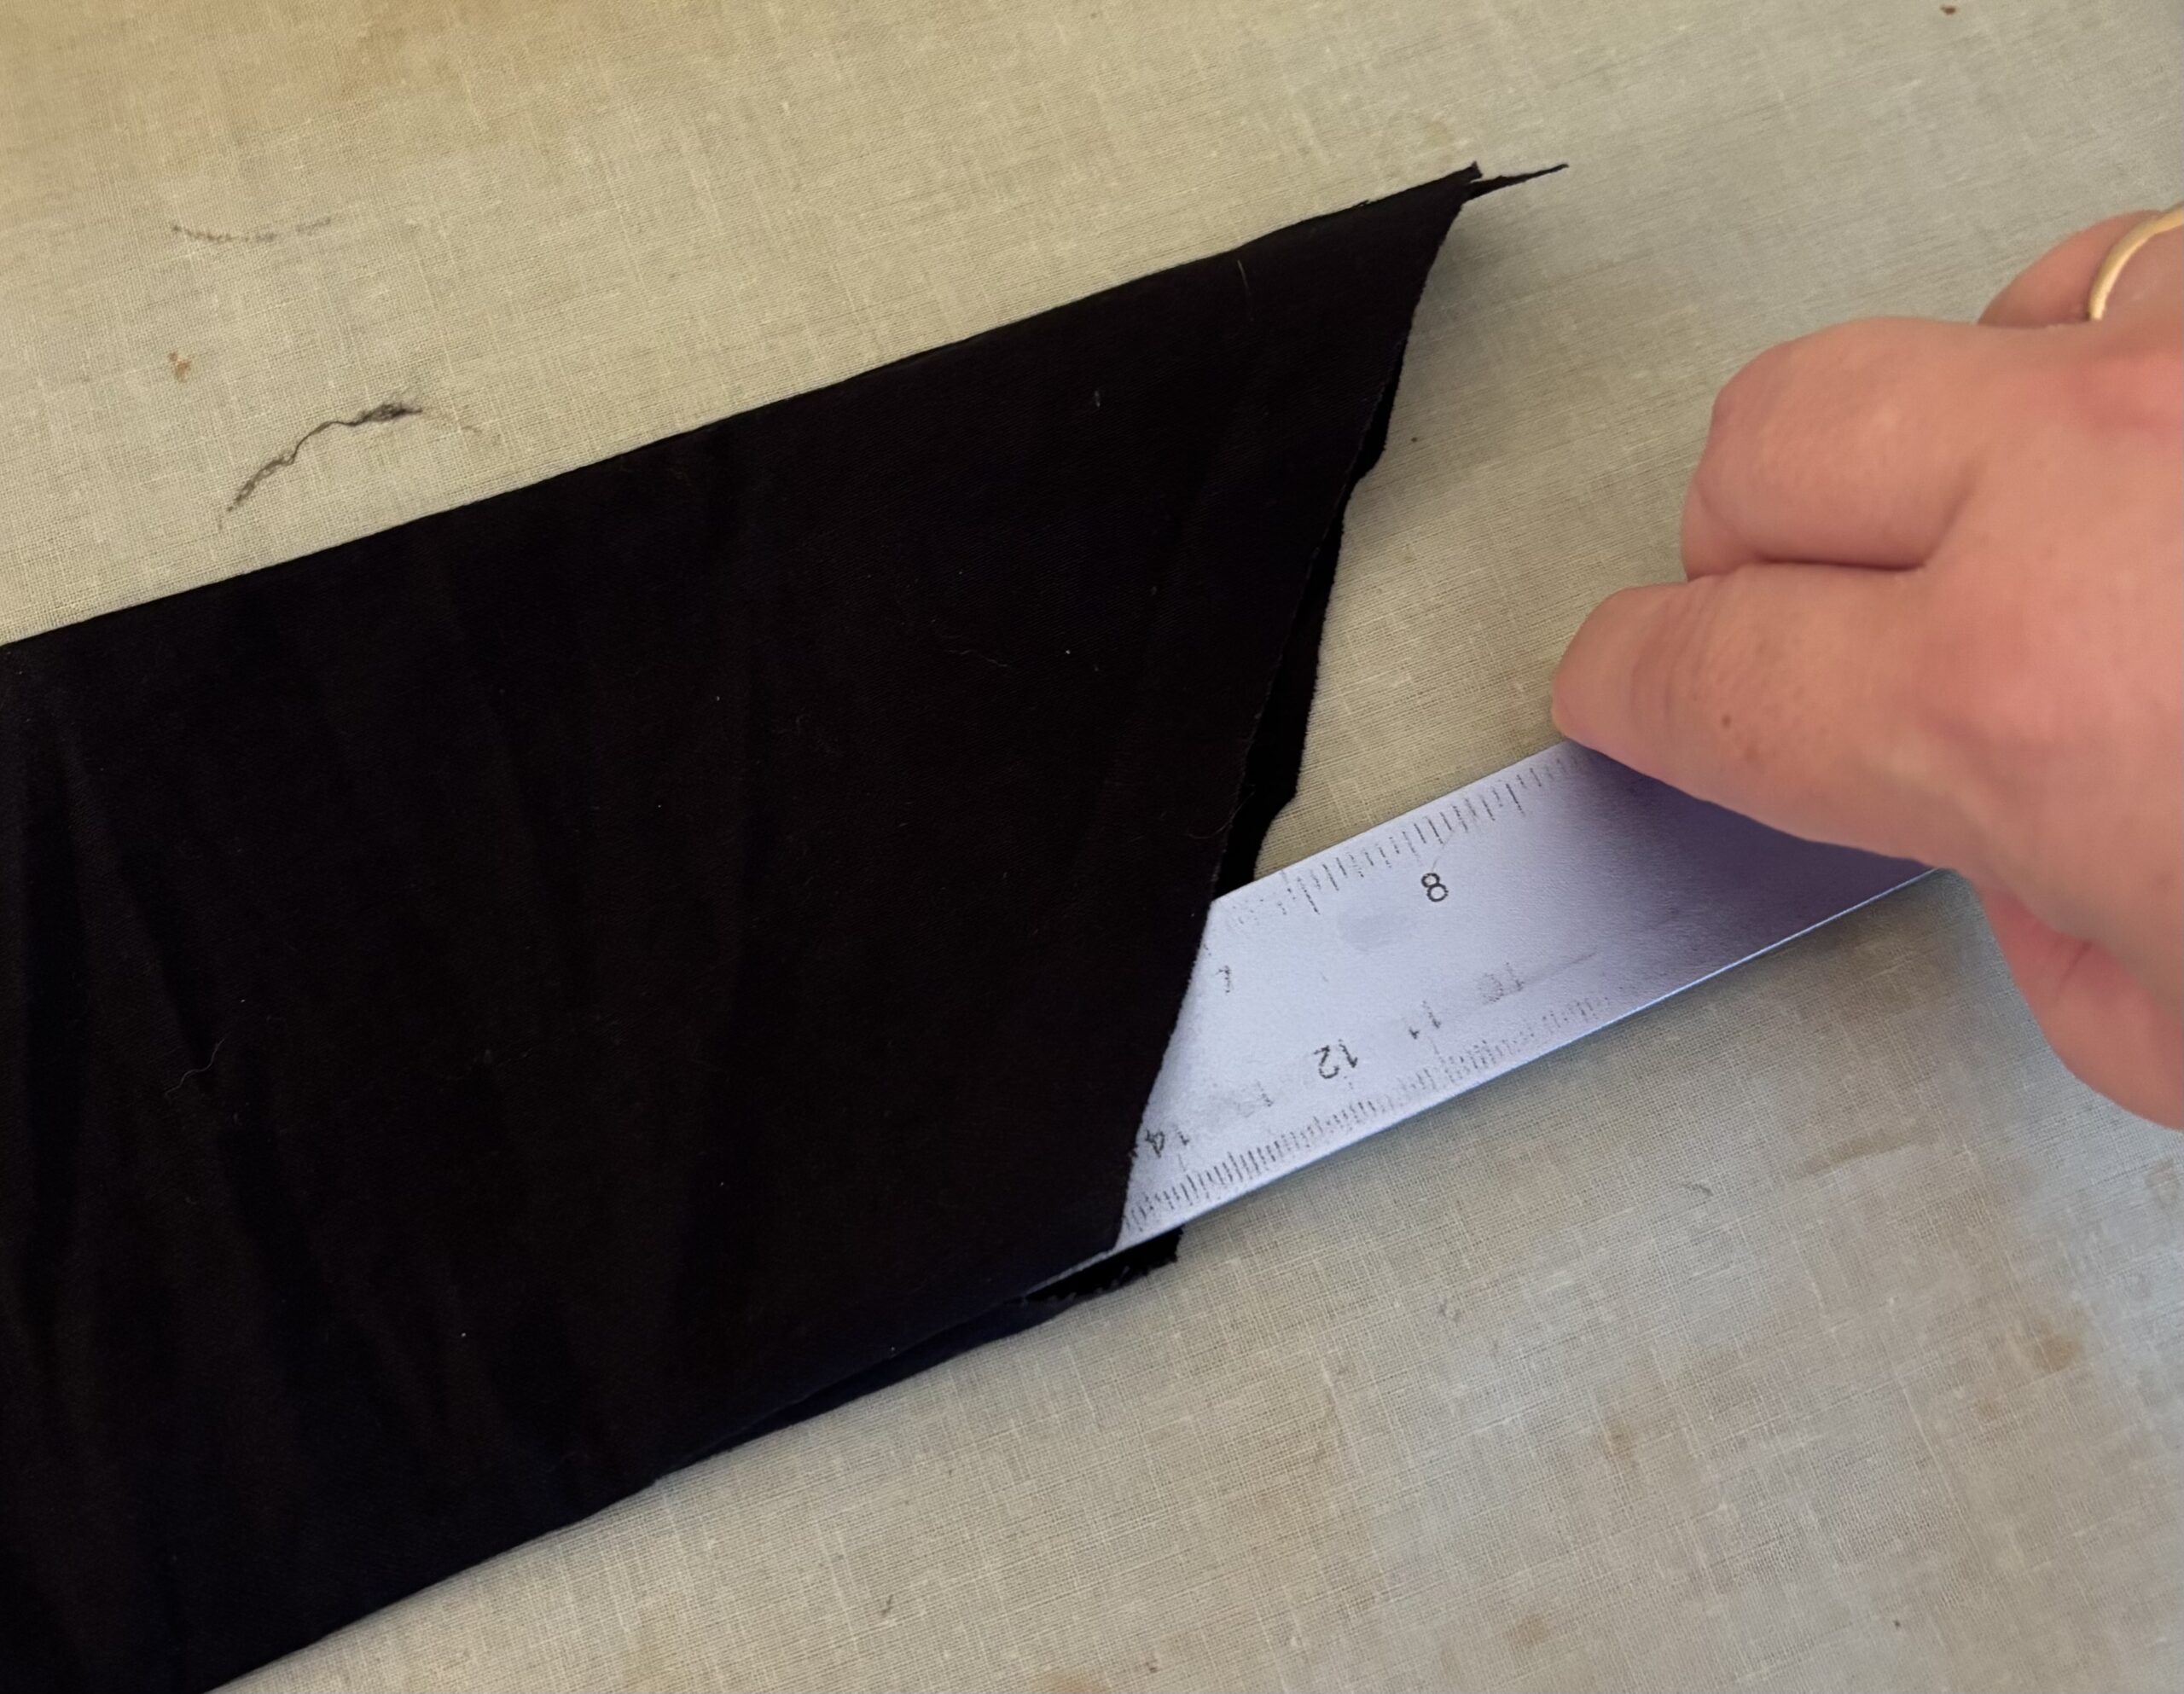
Turn right side out, so the seam allowance is now inside. Using a metal ruler or other sewing tool, PRESS the seams, pressing them outwards from inside with the tool. Be careful not to burn yourself.
For pressing in the middle section where the tool will not reach, hold the seam edges of the fabric between your fingers, and wiggle back and forth to release the full width of the sash. PRESS.
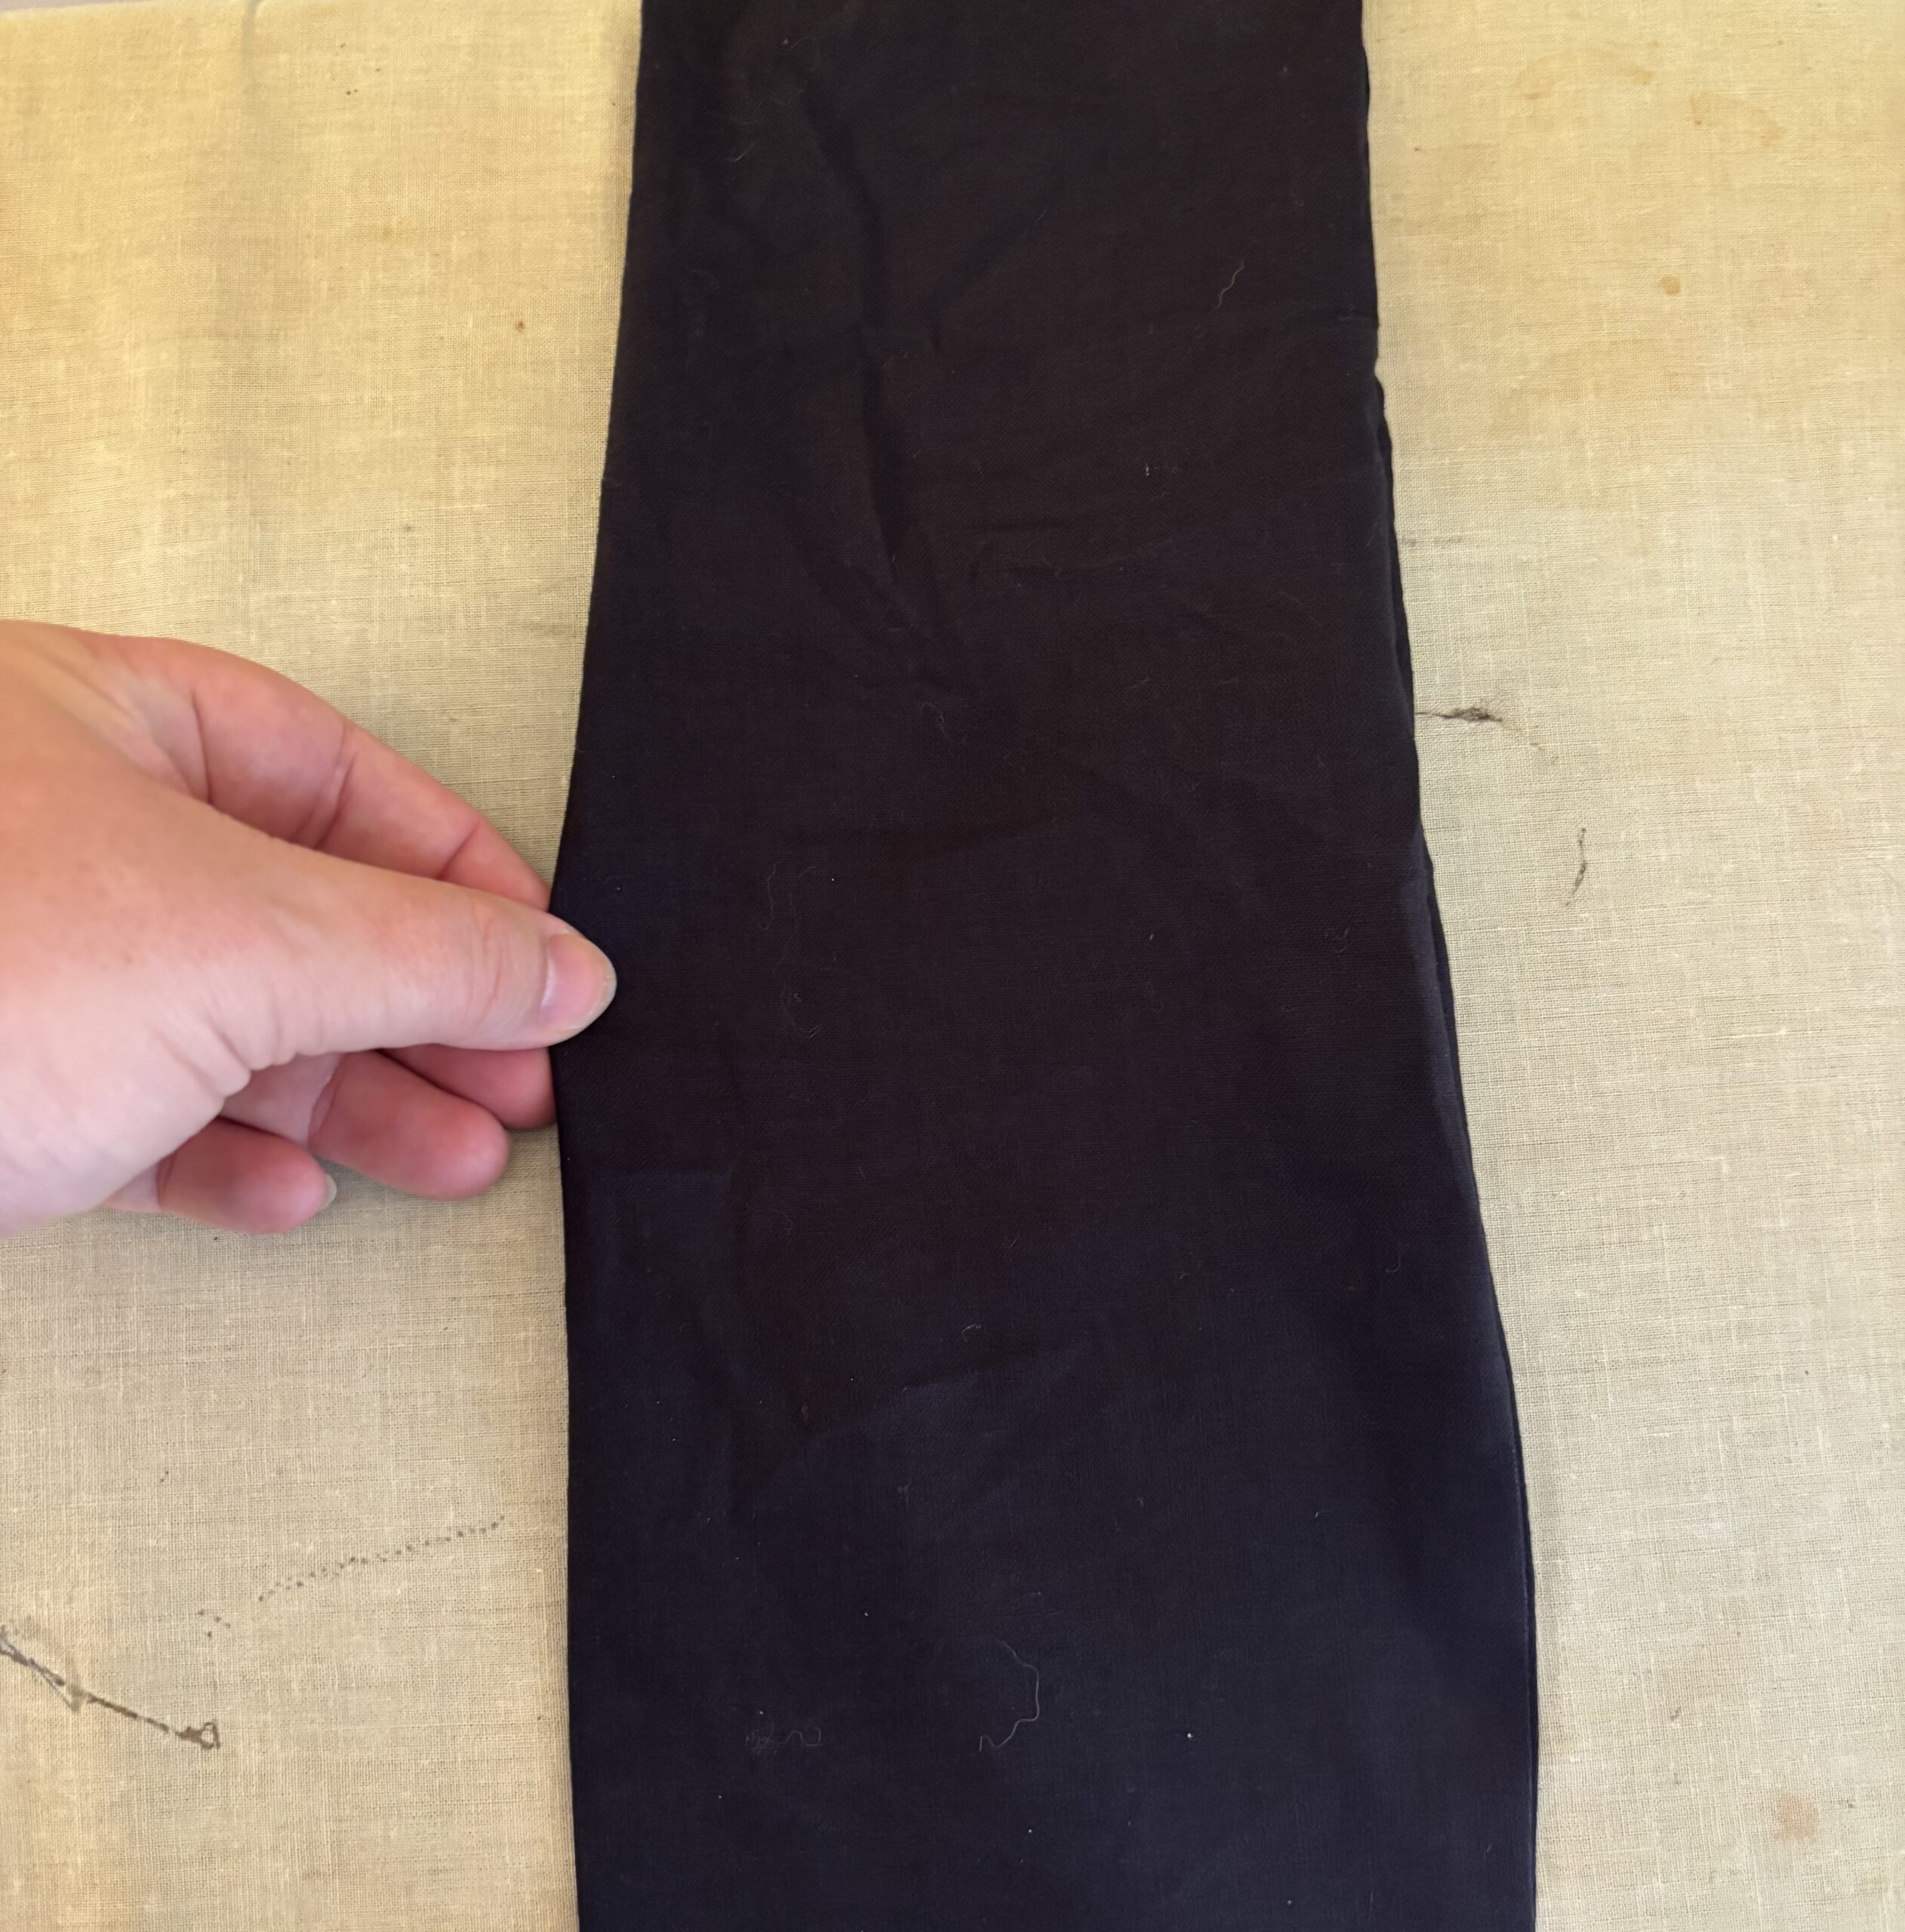
Being careful not to twist the sash, pin ONE SIDE of the hip edges together, right sides (of the fabric) together
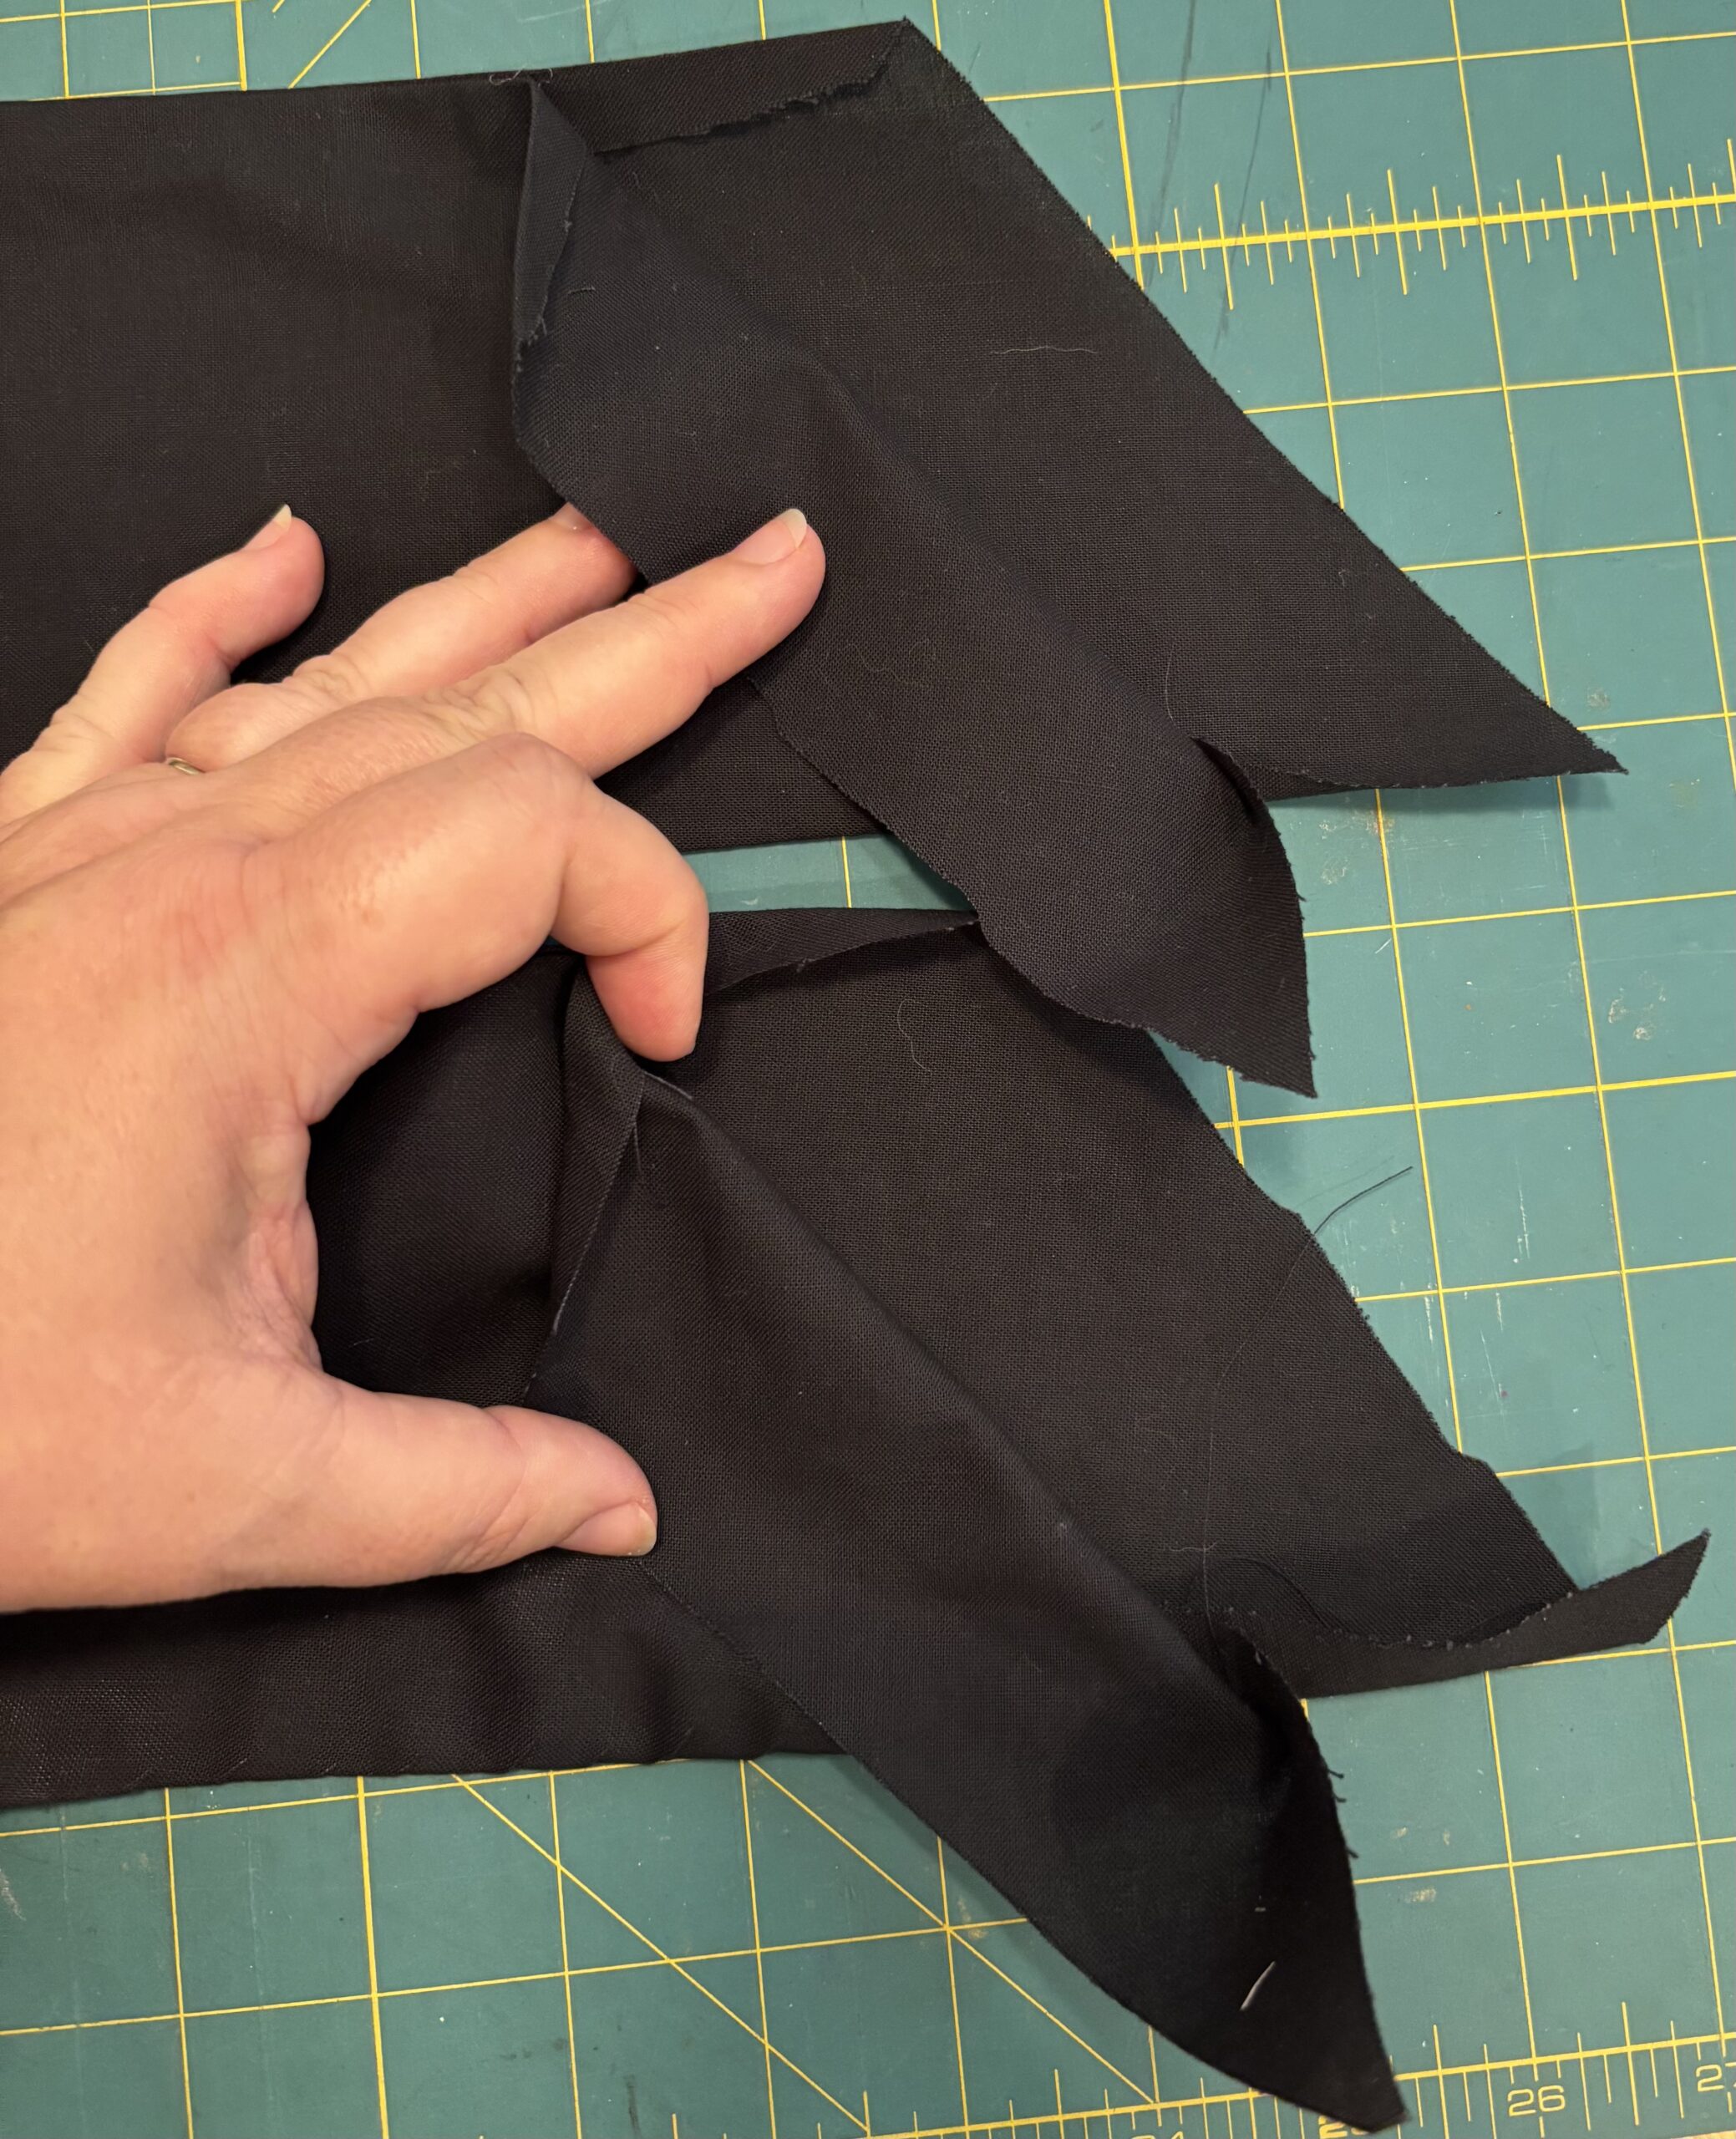
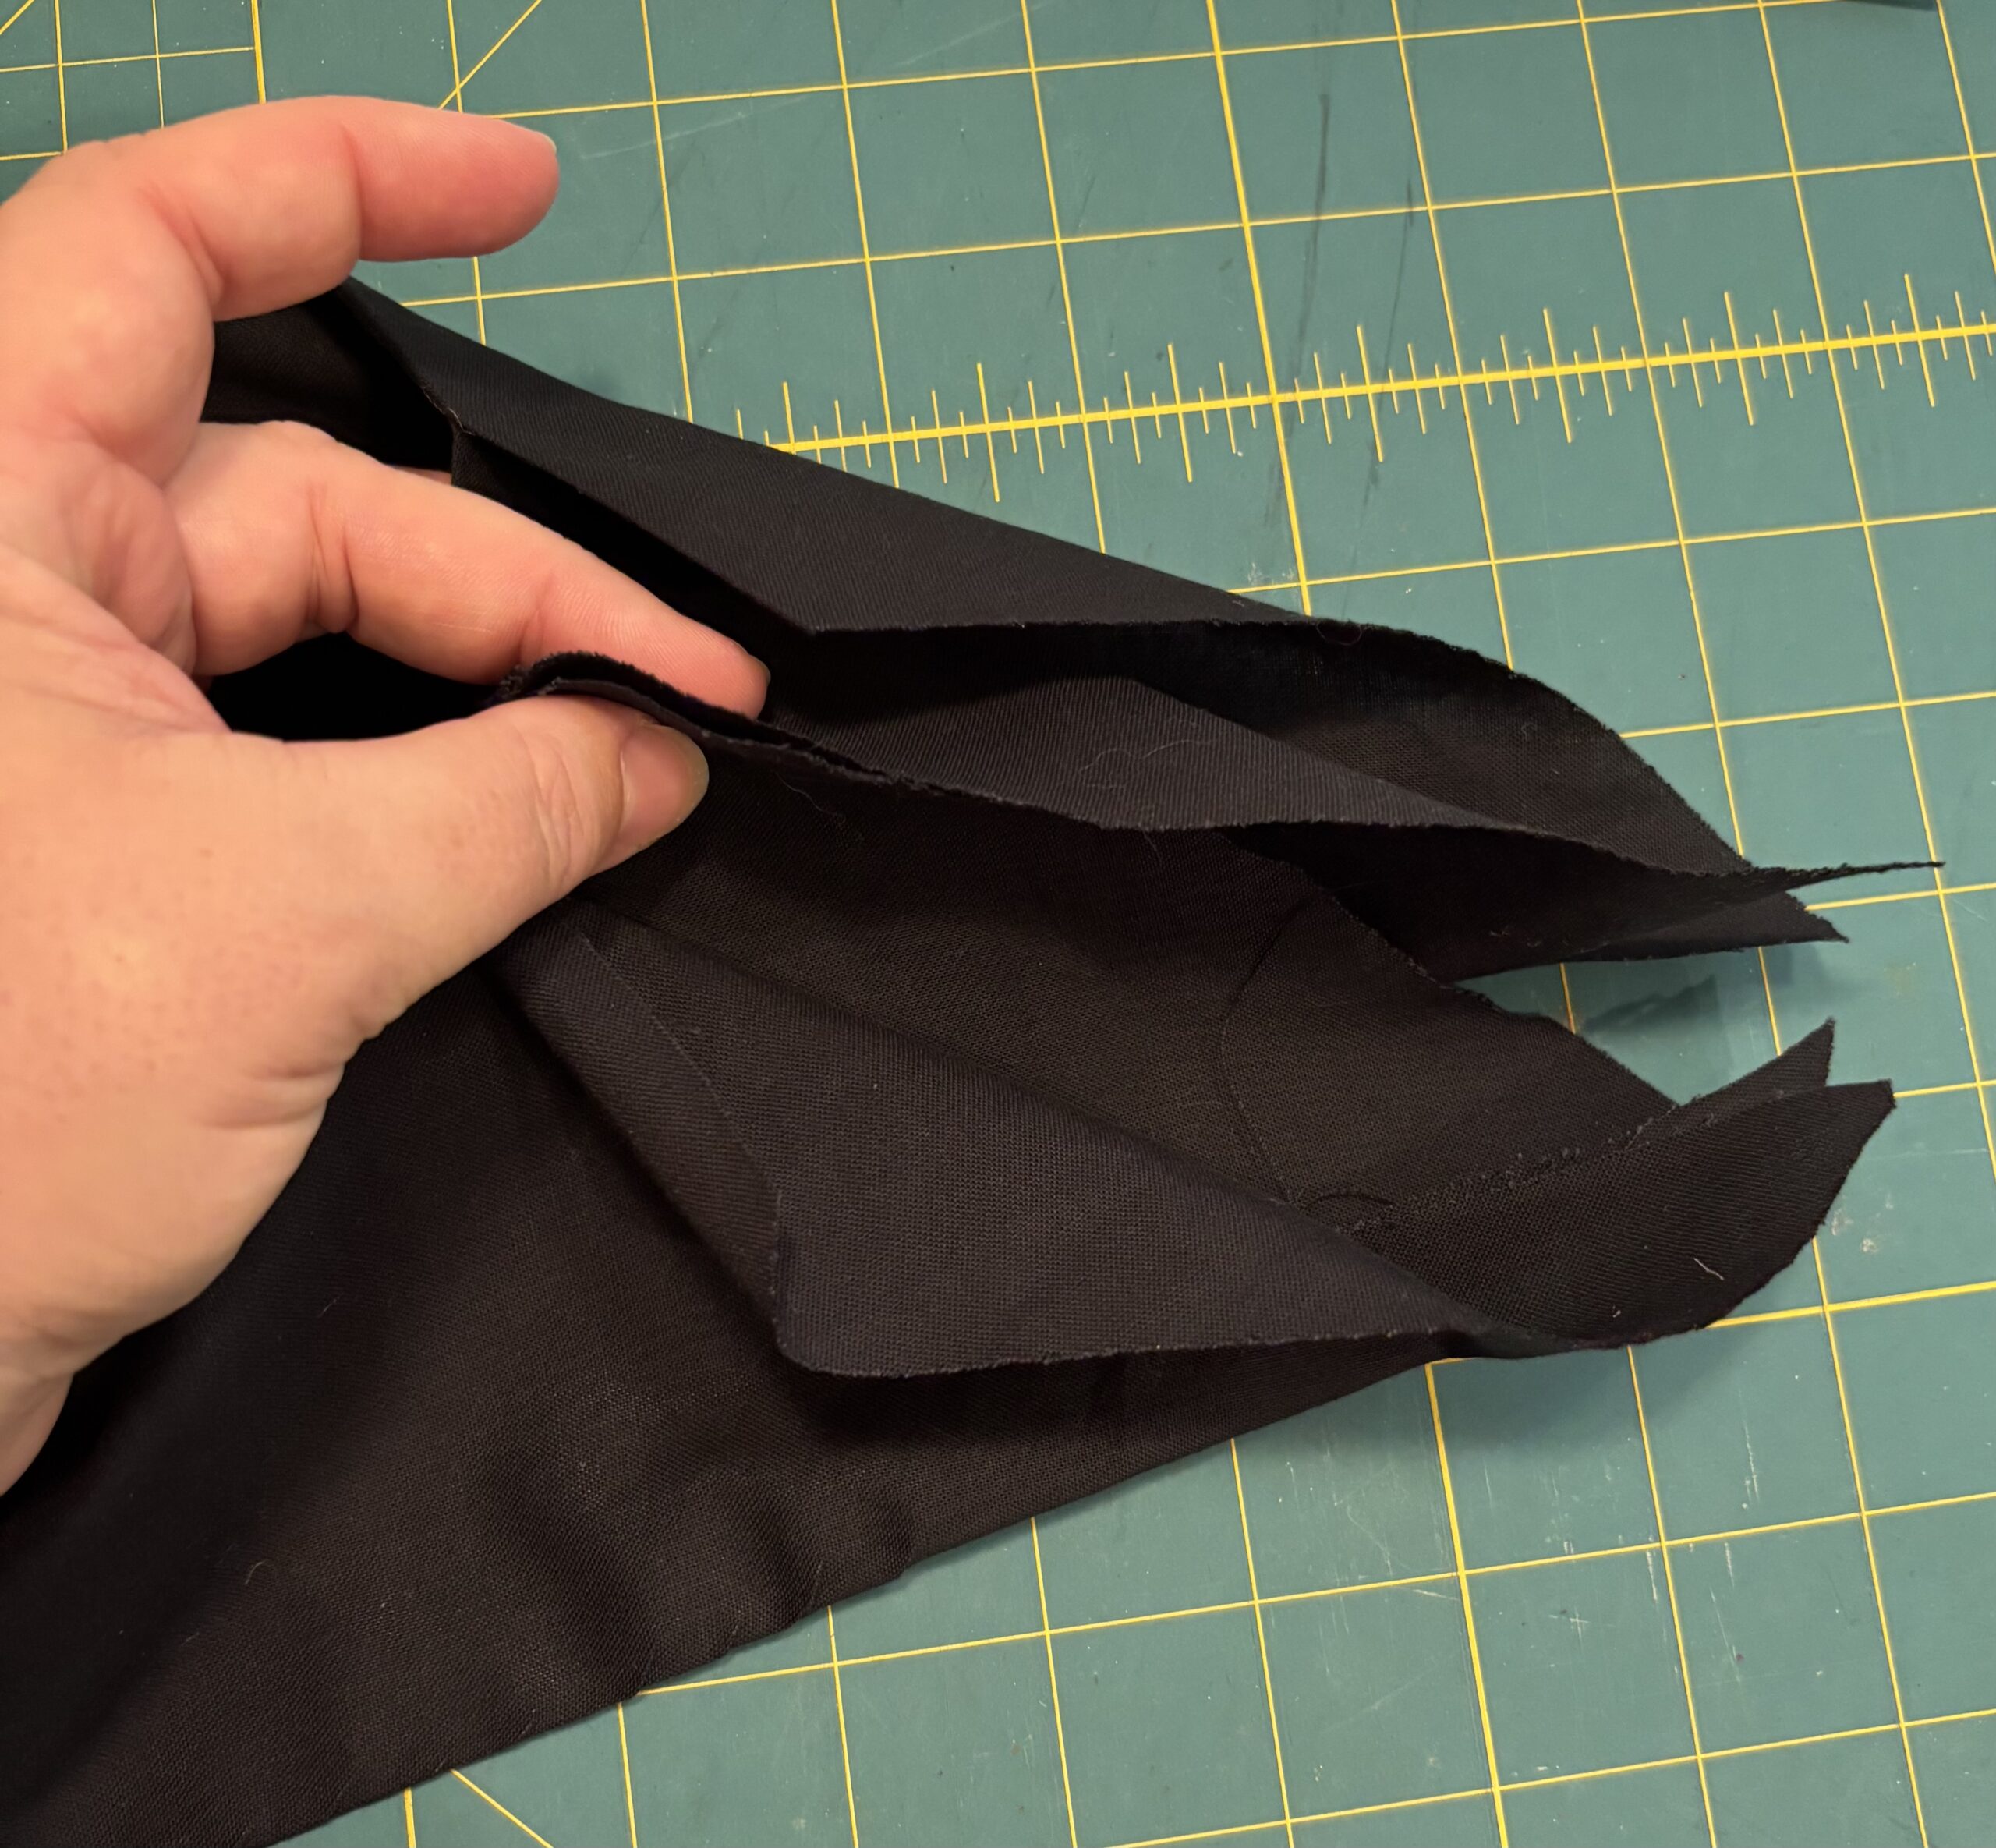
SEW with a ½” seam.
Carefully pin the right sides together of the remaining hip pieces.
(This part is tricksy, spatially, and if your fabric, fingers, or machine are not cooperating, feel free to use a seam ripper to open the long seams another inch or so, to allow you more room to work. These will be closed during the topstitching.
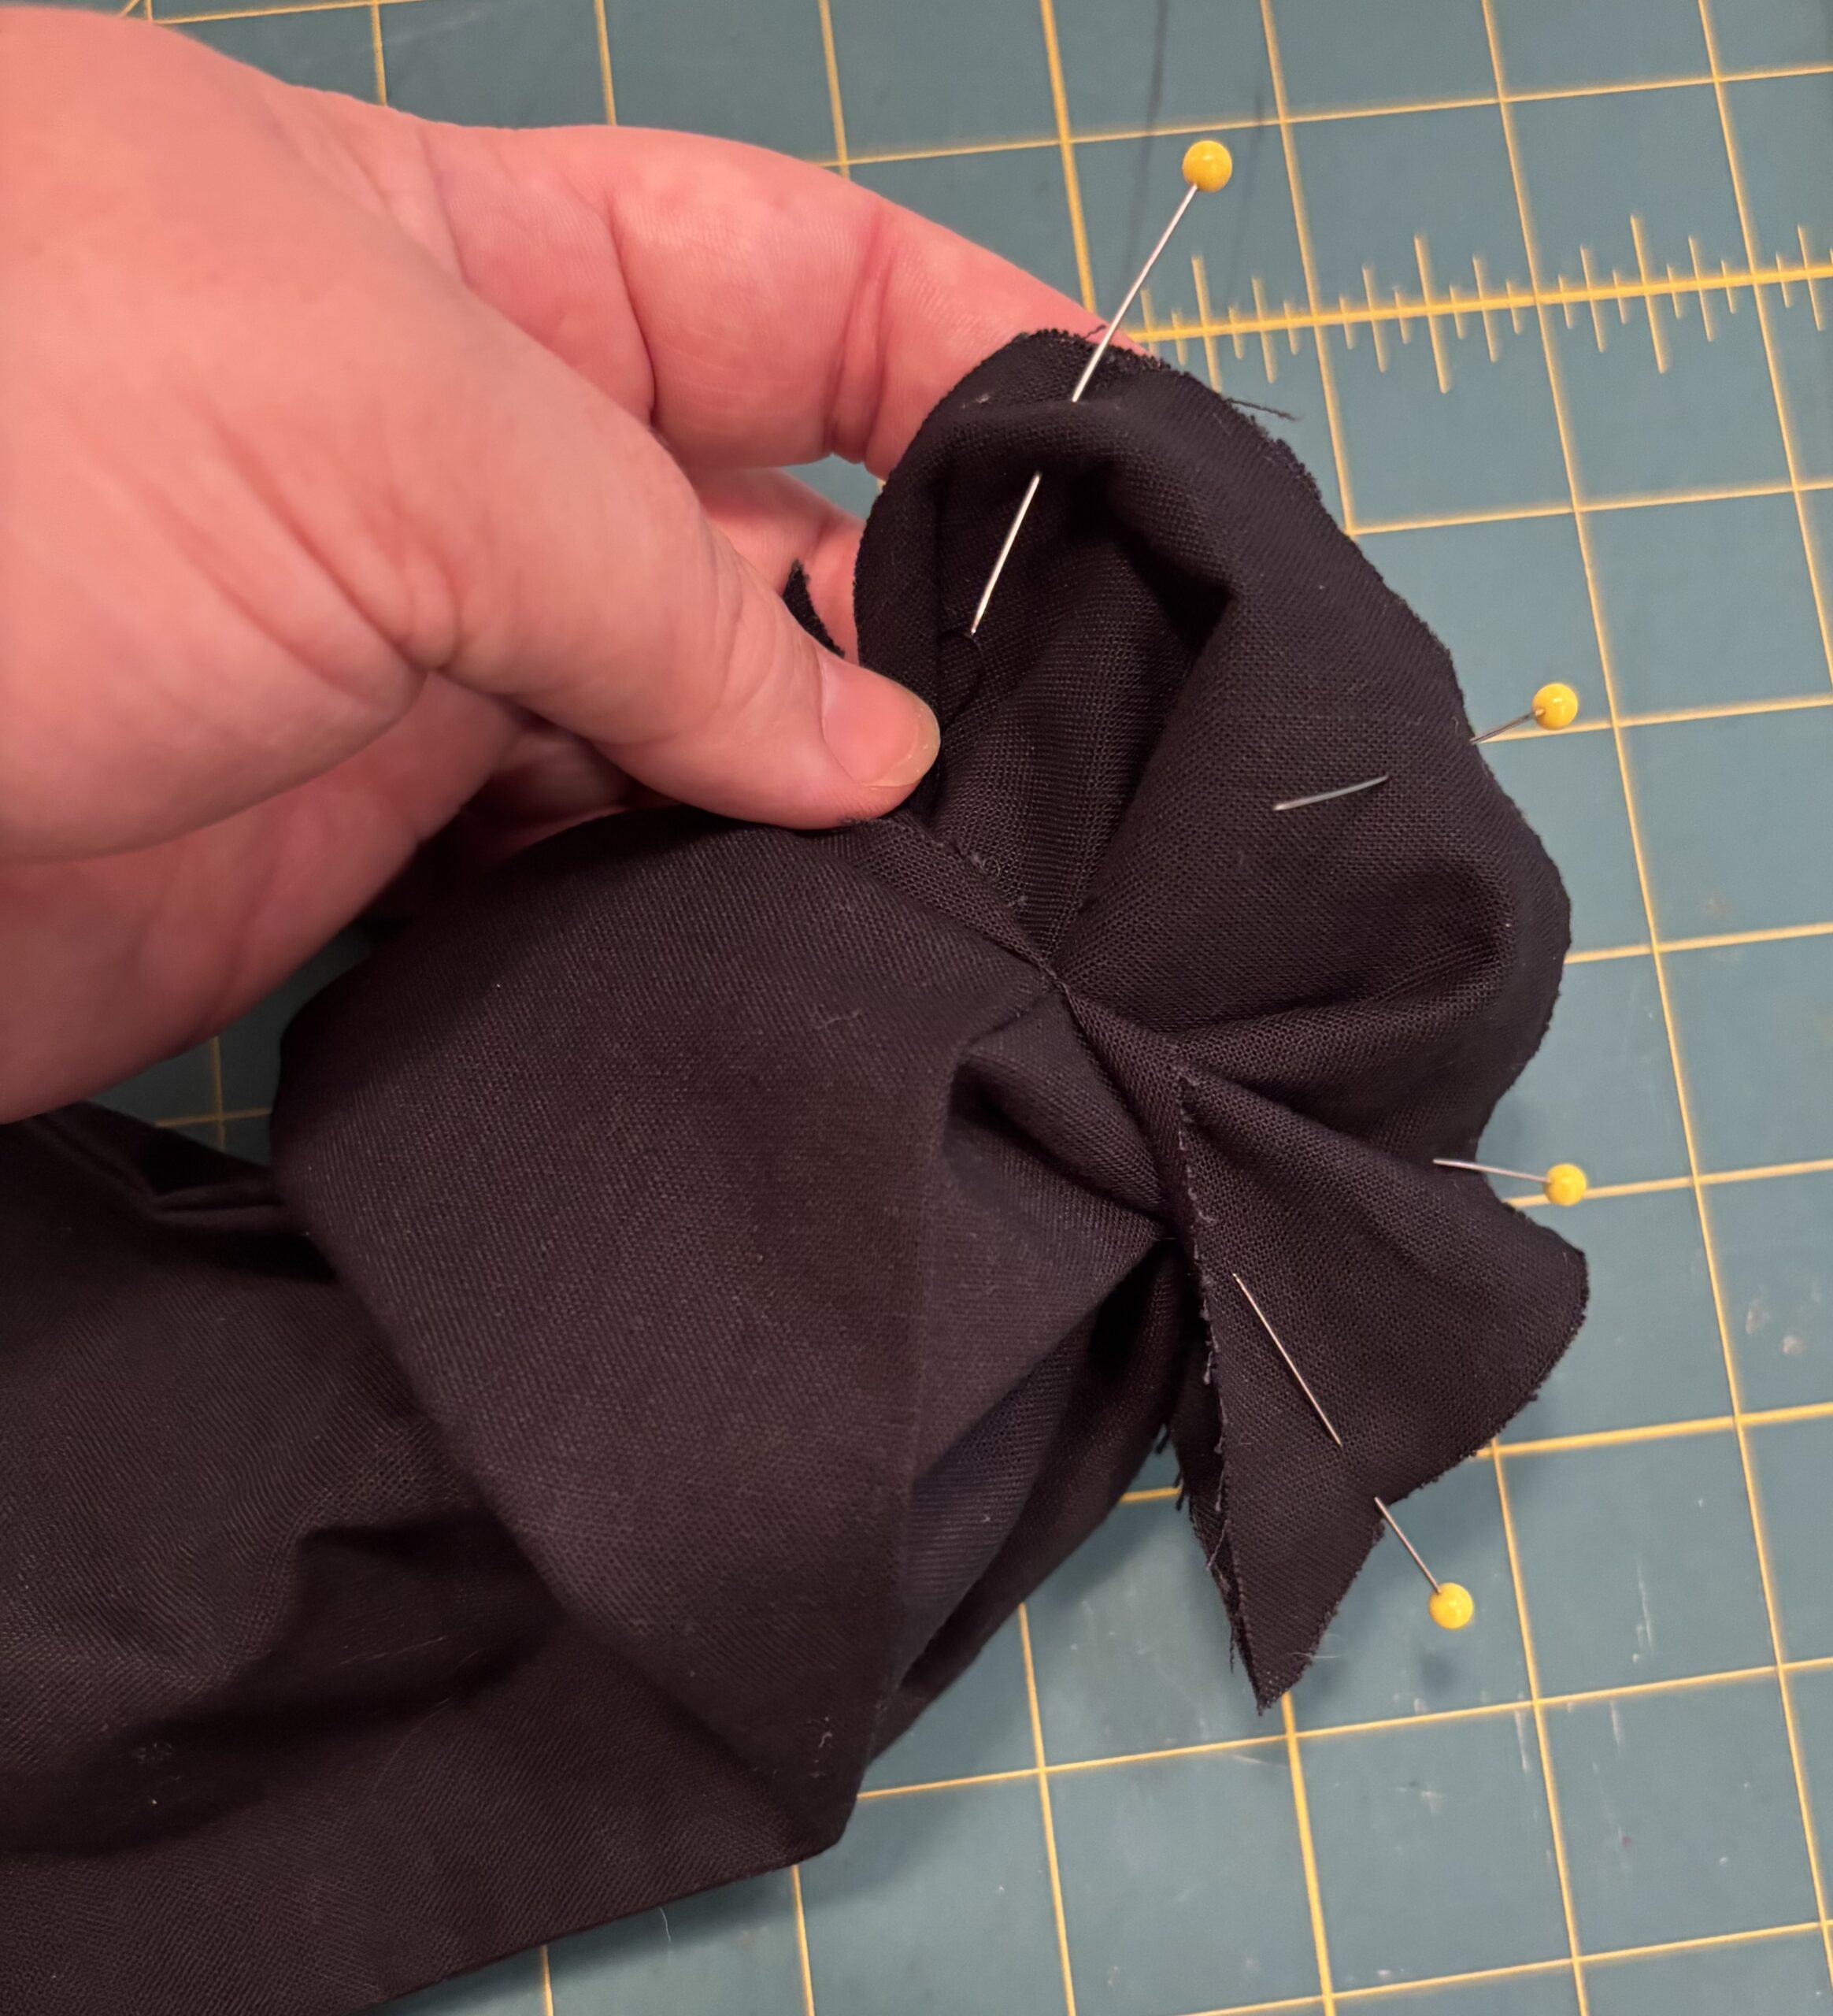
SEW with a ½” seam.
PRESS both seams from the right side of the fabric as follows: either press both open, OR, press #1 to one side, and #2 to the opposite side. This will avoid having a big bump of seam allowance.
Using your fingers, from the right side of the fabric, turn in the remaining seam allowance on the long seams at the hip, pinning to hold them in place.
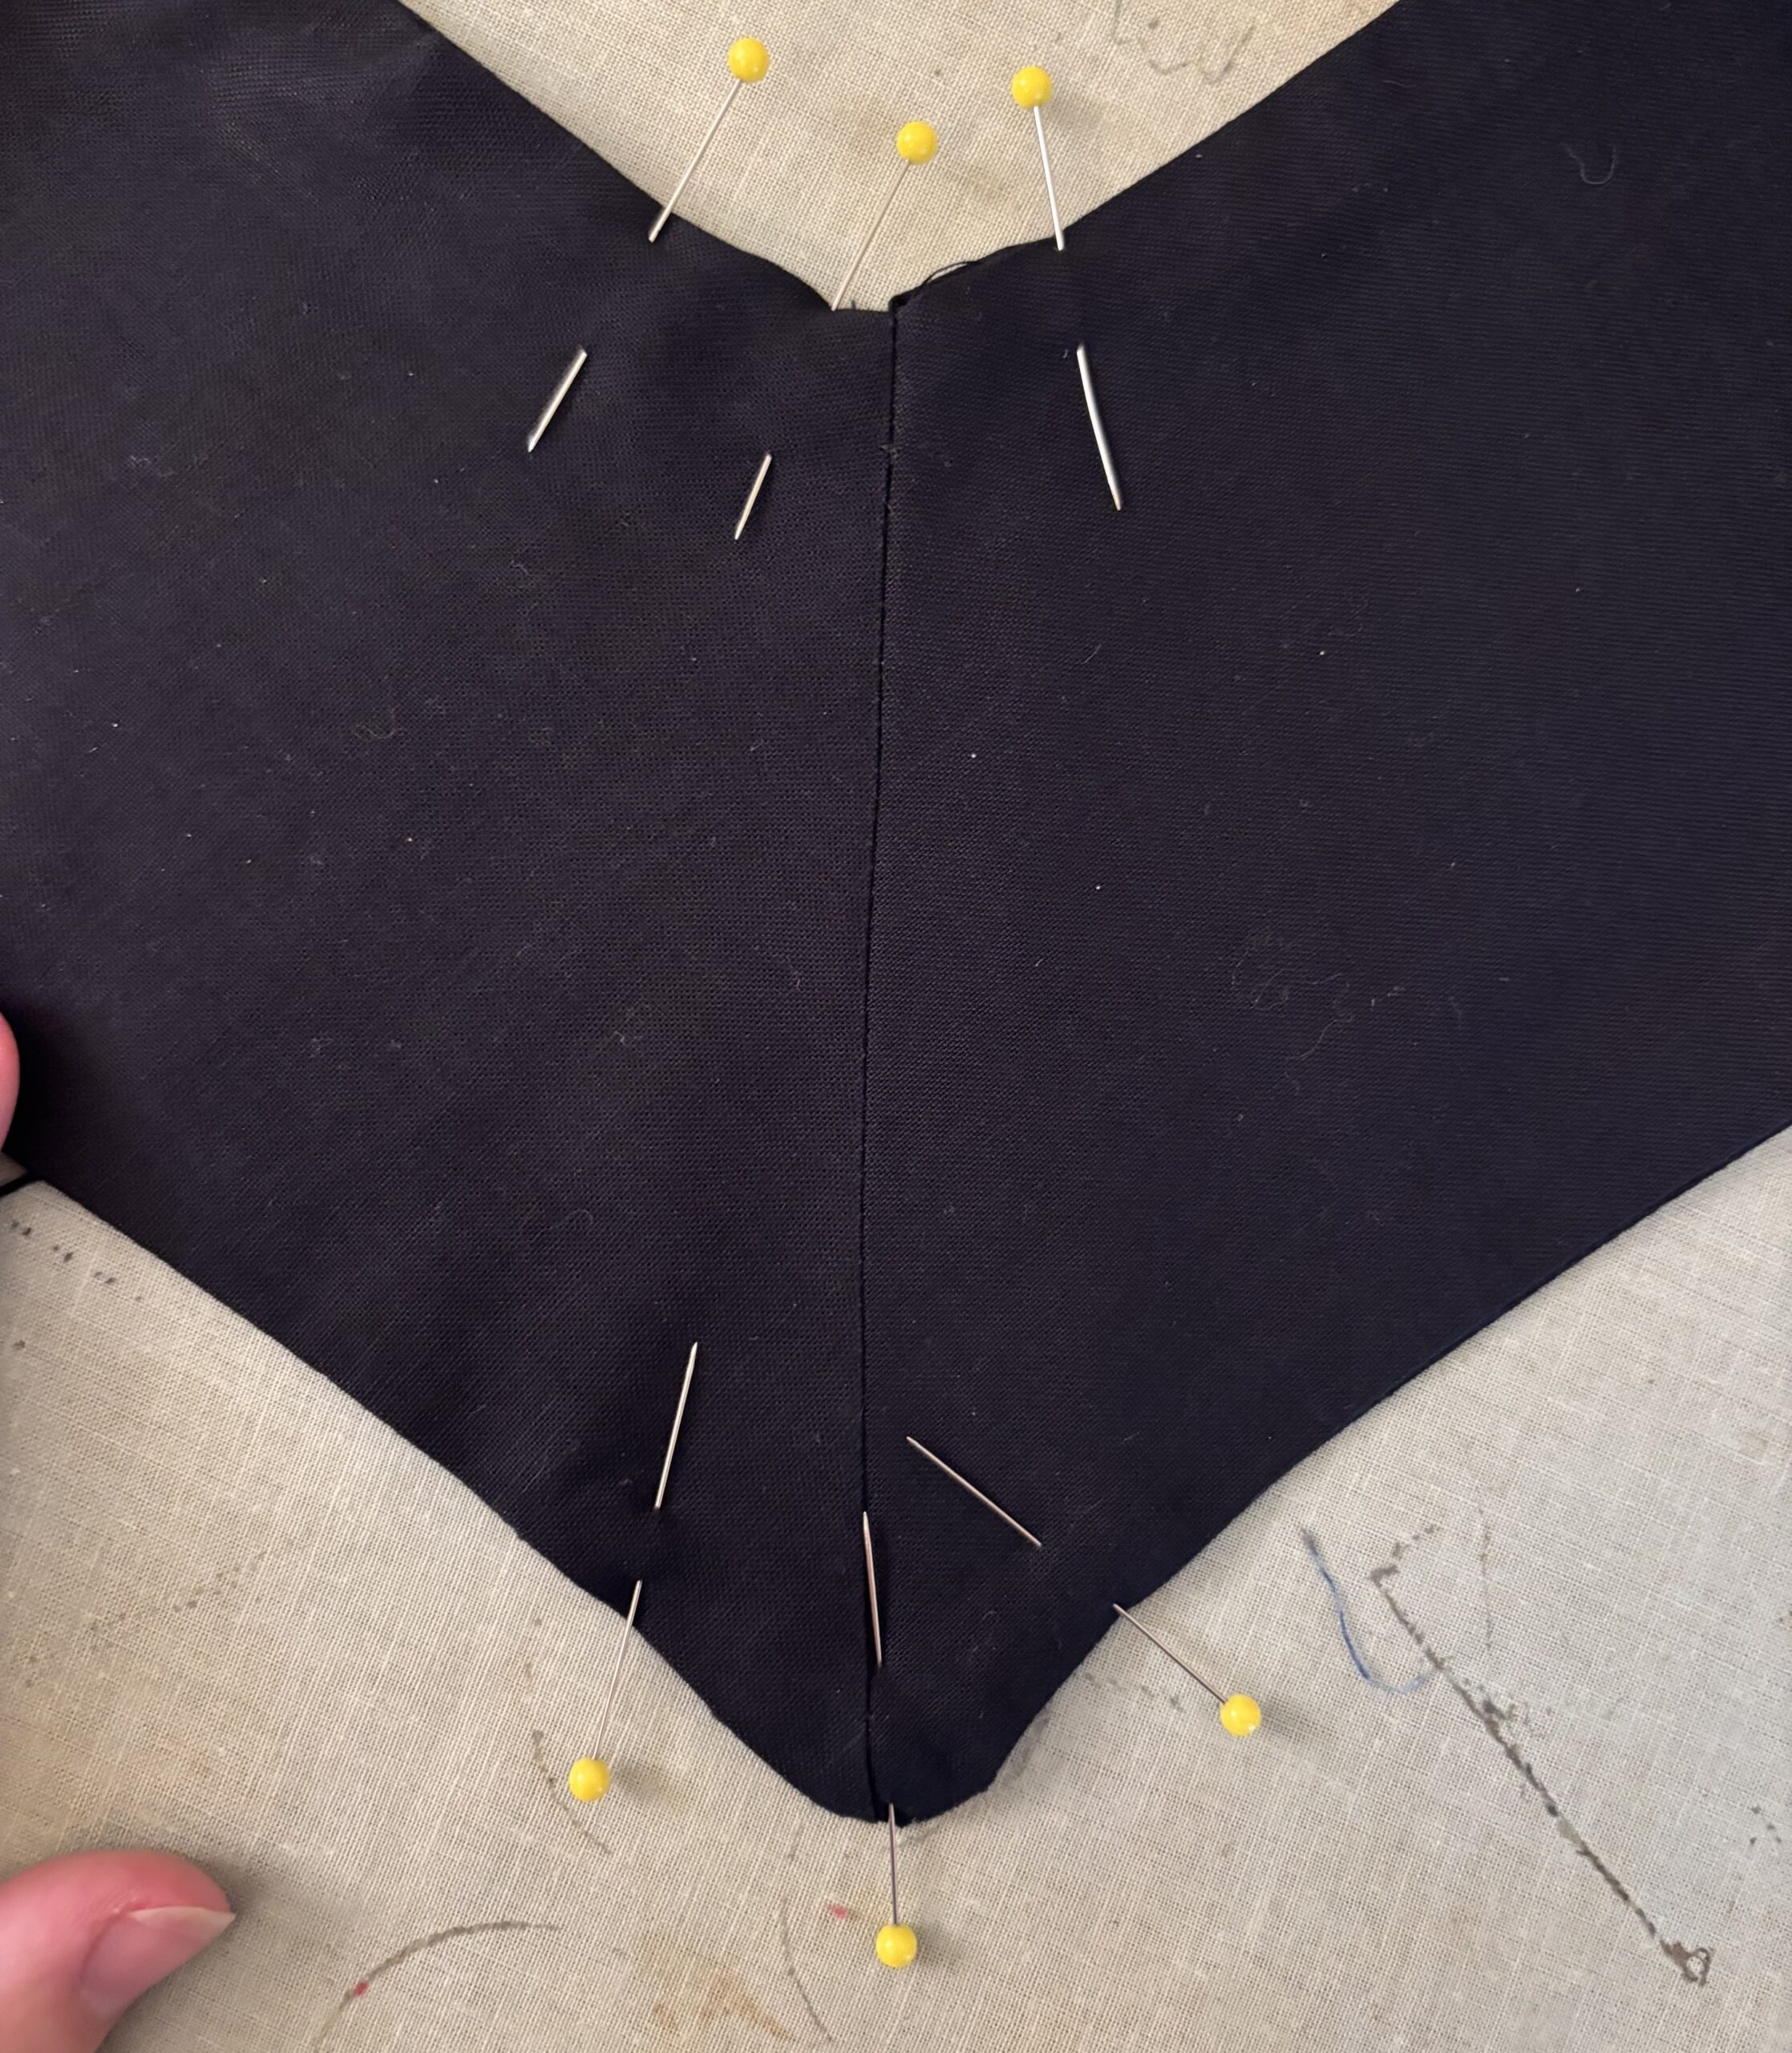
PRESS these folds, being careful not to melt your pin-heads.
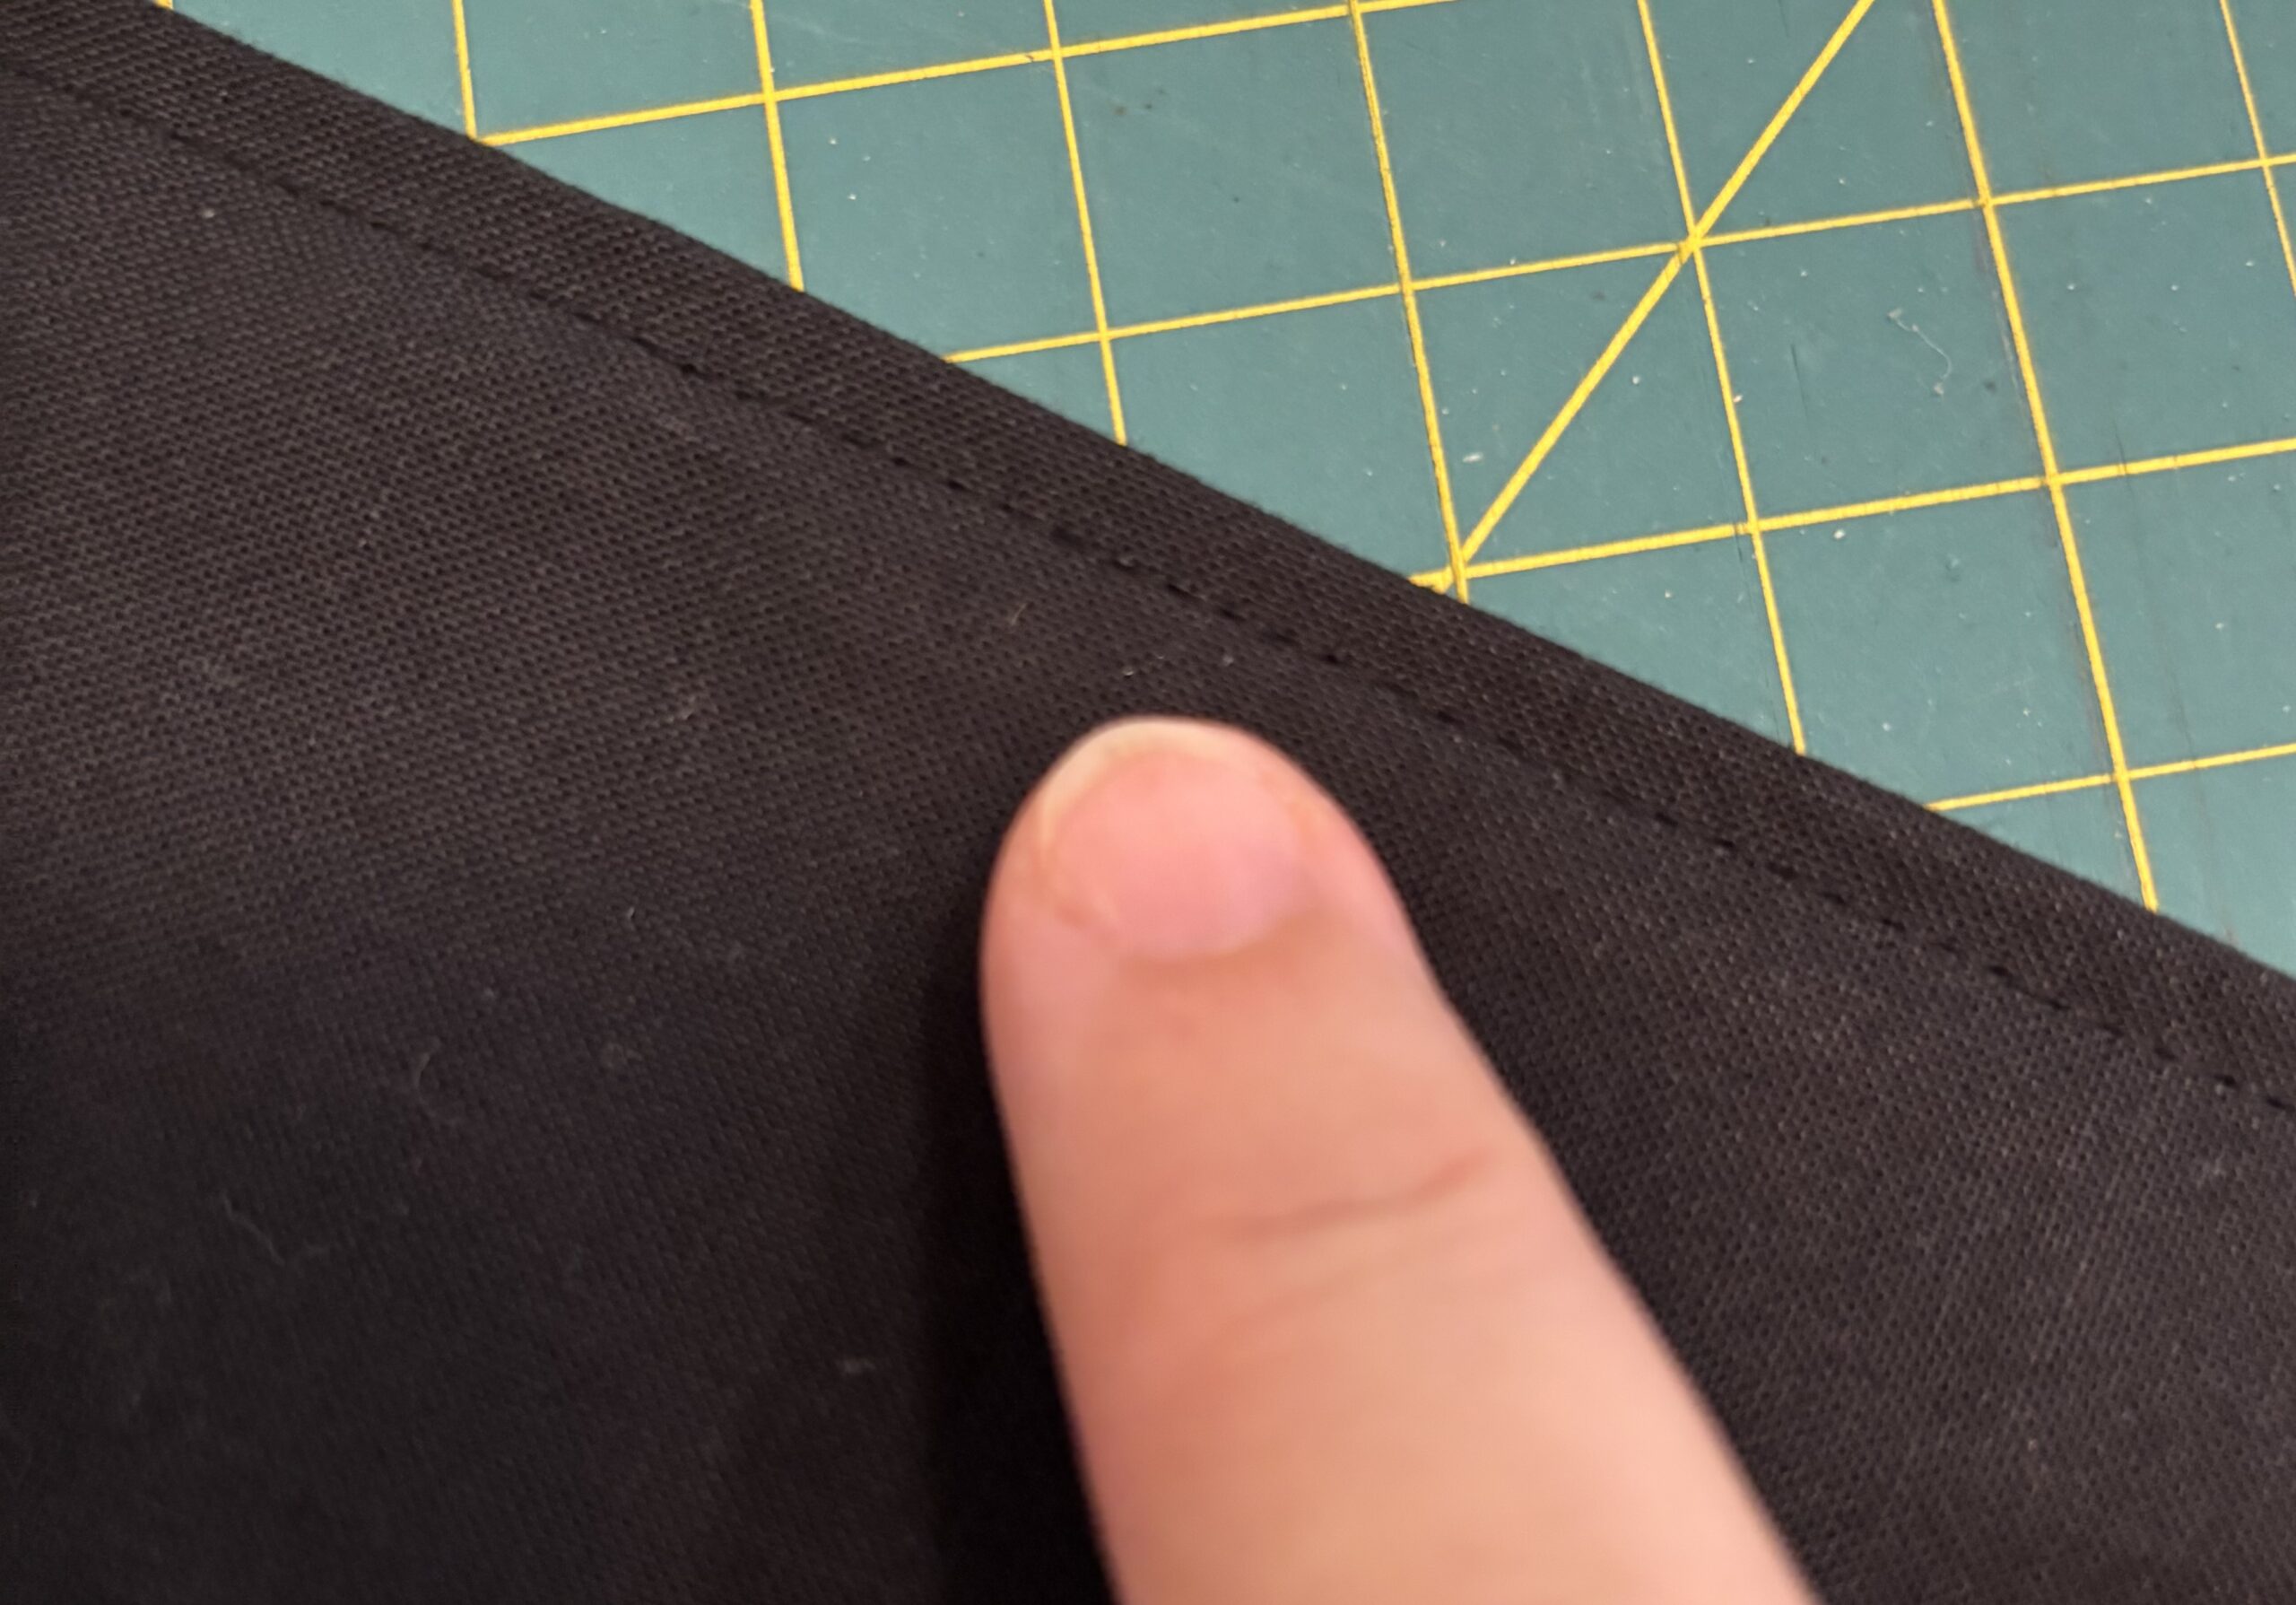
SEW a ¼” topstitch around the entirety of the edges of the new sash. This will secure your turned-in seams, keep the other seams from wiggling around, and provide a decorative edge and stability to the entire sash.
Add badges as needed. We chose to add Group and OSG identifying patches at the top and earned badges in a pattern below.